camping solar setup
Setting Up a Camping Solar System A Guide to Off-Grid Adventures
Camping under the stars is one of life’s greatest pleasures, but it often comes with the challenge of staying powered up. Whether you’re relying on devices for navigation, cooking, or simply enjoying some entertainment after dark, a solar power setup can enhance your camping experience significantly. Here’s a guide on how to create an efficient camping solar setup.
1. Assess Your Power Needs
Before diving into equipment, it's crucial to assess your power requirements. Consider what devices you’ll be using and their wattage. Common camping gear might include
- LED lights (5-10 watts each) - Small appliances like a portable fridge (30-70 watts) - Charging devices (phones, tablets, etc., typically around 5-20 watts)
Add up the wattage of all devices you plan to use to determine your daily energy needs. This will dictate the size of your solar system.
2. Choose the Right Solar Panels
Once you know your power needs, it's time to select solar panels
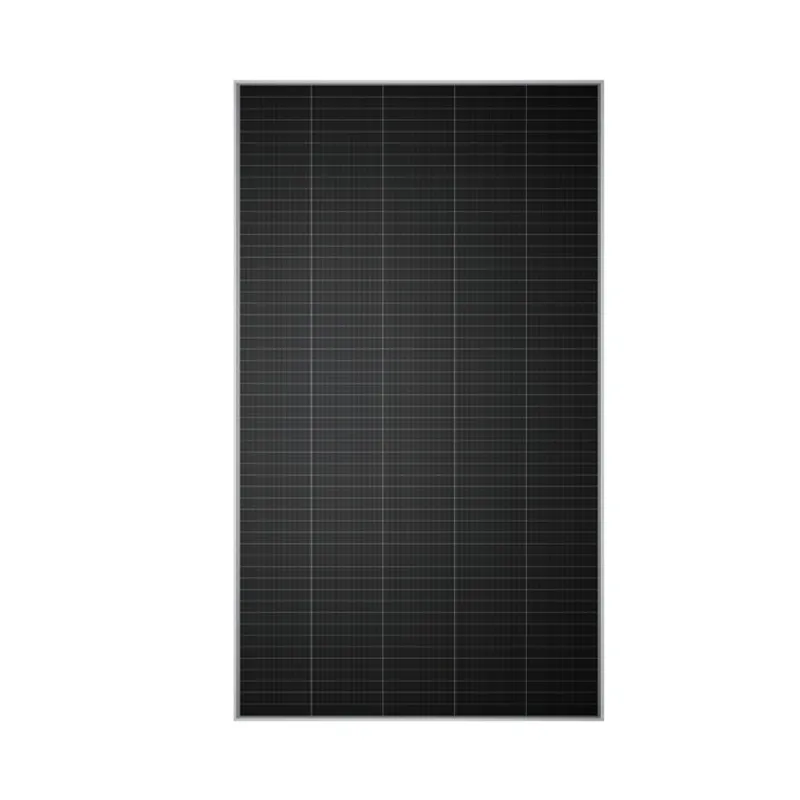
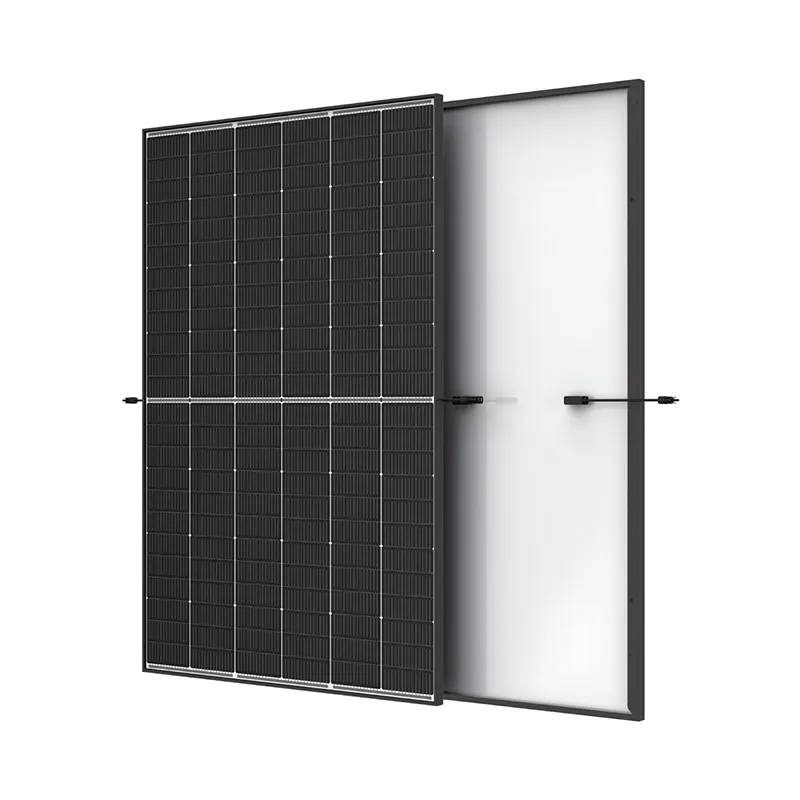
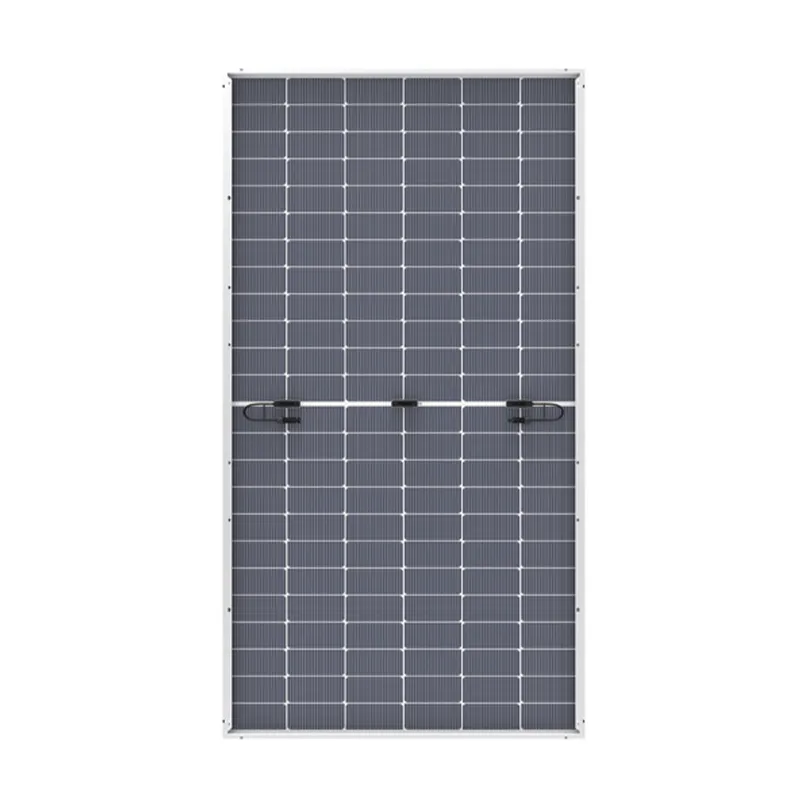
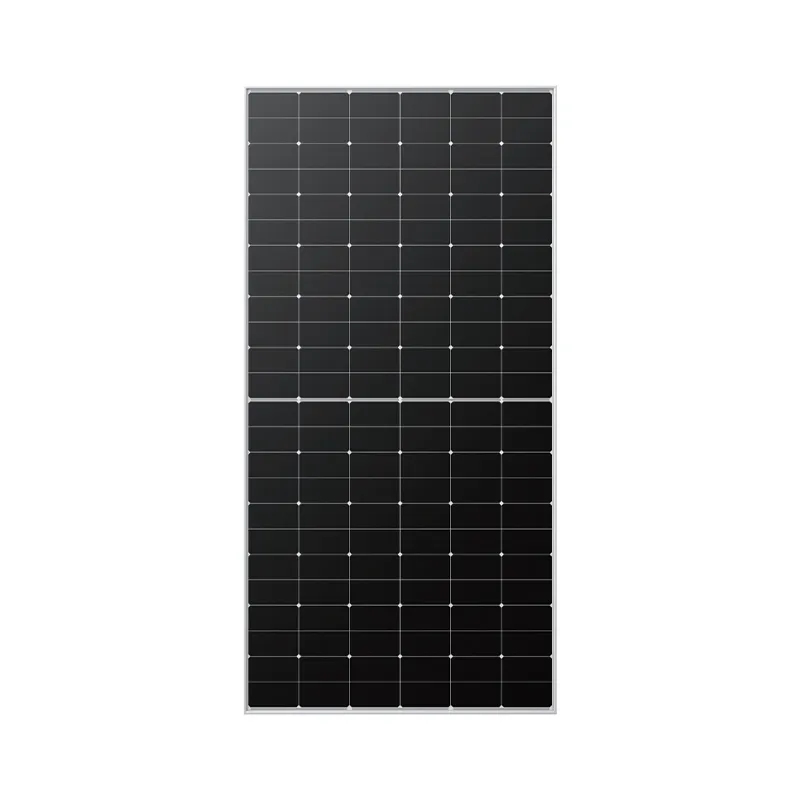
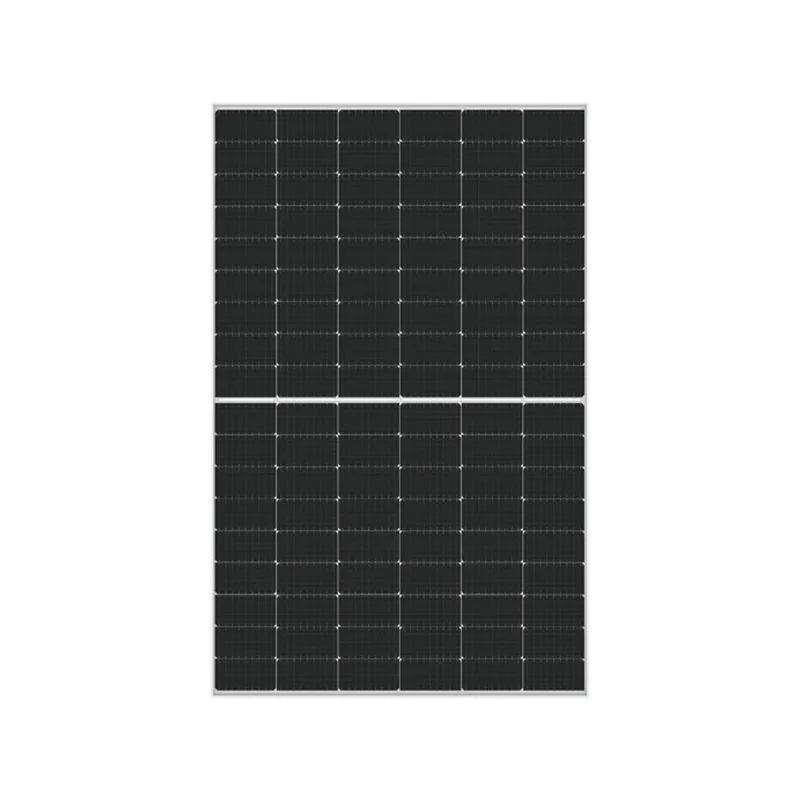
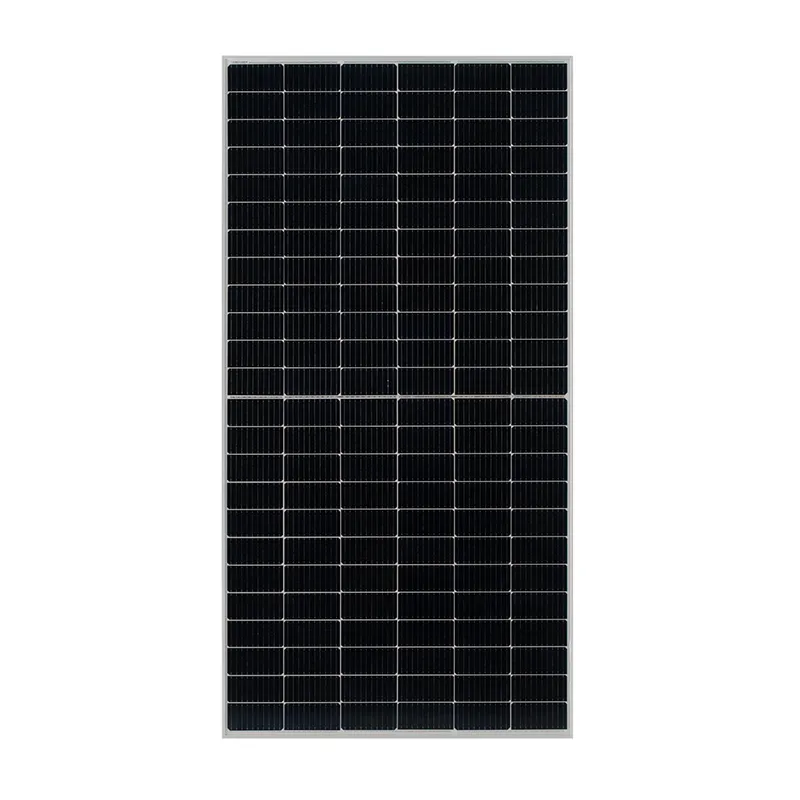
. Consider the following types- Monocrystalline Solar Panels These are efficient and perform well in low-light conditions, making them a solid choice for camping. - Polycrystalline Solar Panels Generally more affordable but less efficient, they are a good option if budget constraints exist.
For most campers, a solar panel setup that offers between 100-300 watts is sufficient for charging devices and running small appliances.
3. Select a Suitable Battery
A solar setup isn’t just about the panels; you’ll need a battery to store the energy captured during the day for use at night. Consider the following
camping solar setup
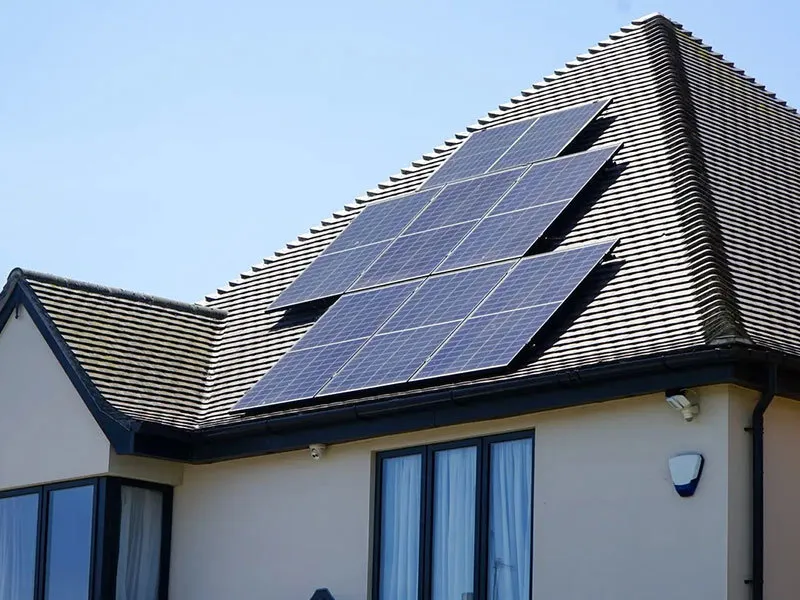
- Lithium-ion Batteries They are lightweight, have a longer lifecycle, and are more efficient but come at a higher price point. - Lead-Acid Batteries More affordable but heavier and with a shorter lifespan, they are a common choice for budget-conscious campers.
Ensure the battery capacity matches your power needs. A good rule of thumb is to have a battery that can store at least two times your daily energy consumption to ensure you have enough stored energy for cloudy days.
4. Inverter Selection
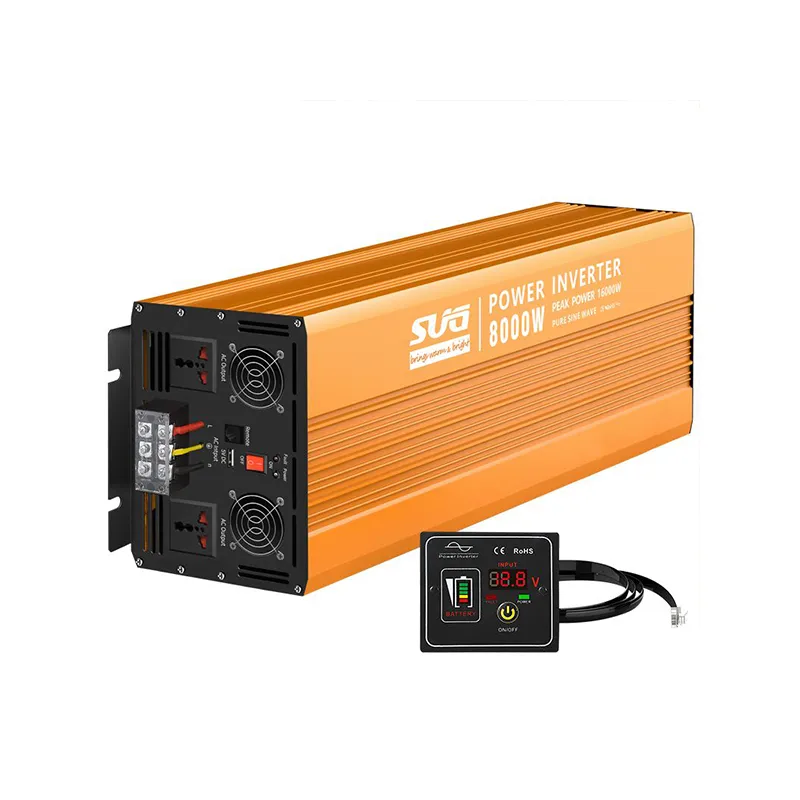
If you're planning to power AC appliances (like a camping fridge), an inverter is essential. Inverters convert DC power stored in batteries to AC power. Choose an inverter that can handle the total wattage of your devices. A 300-watt inverter is typically sufficient for smaller setups, while larger systems may need inverters rated at 700 watts or higher.
5. Additional Components
Your solar setup might also require additional components for optimal functionality
- Charge Controller This device regulates the voltage and current coming from the solar panels to prevent overcharging the battery. - Cables and Connectors Ensure you have the necessary cabling to connect all components safely. - Mounting Equipment Depending on your setup, you might need mounting brackets or stands for your panels.
6. Test Your System
Before heading out on your camping trip, test your entire solar setup at home. This way, you can ensure everything is working correctly and familiarizing yourself with the components.
7. Embrace the Outdoors
With your solar system in place, you’re ready to enjoy an off-grid experience without sacrificing comfort. Charge your devices, keep food fresh in a cooler, and illuminate your campsite with lights powered by the sun. Remember to leave no trace and respect the beauty of nature around you.
In conclusion, a camping solar setup requires careful planning and consideration, but the benefits are worth the effort. Not only will you enjoy the convenience of electricity in the wild, but you’ll also contribute to a more sustainable way of enjoying the great outdoors. Happy camping!
-
Unlocking Energy Freedom with the Off Grid Solar InverterNewsJun.06,2025
-
Unlock More Solar Power with a High-Efficiency Bifacial Solar PanelNewsJun.06,2025
-
Power Your Future with High-Efficiency Monocrystalline Solar PanelsNewsJun.06,2025
-
Next-Gen Solar Power Starts with Micro Solar InvertersNewsJun.06,2025
-
Harnessing Peak Efficiency with the On Grid Solar InverterNewsJun.06,2025
-
Discover Unmatched Efficiency with the Latest String Solar InverterNewsJun.06,2025
