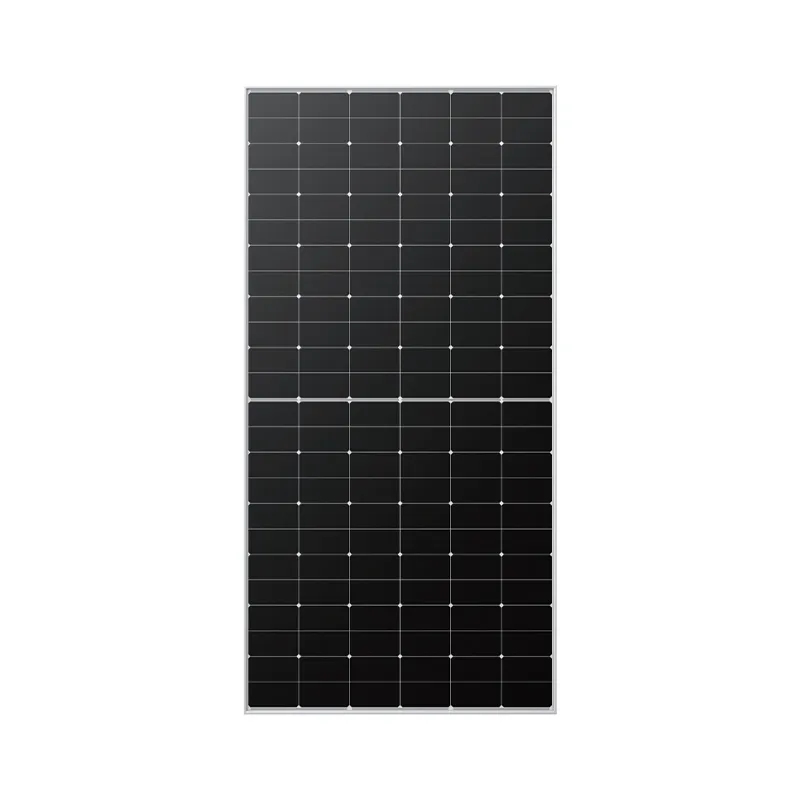
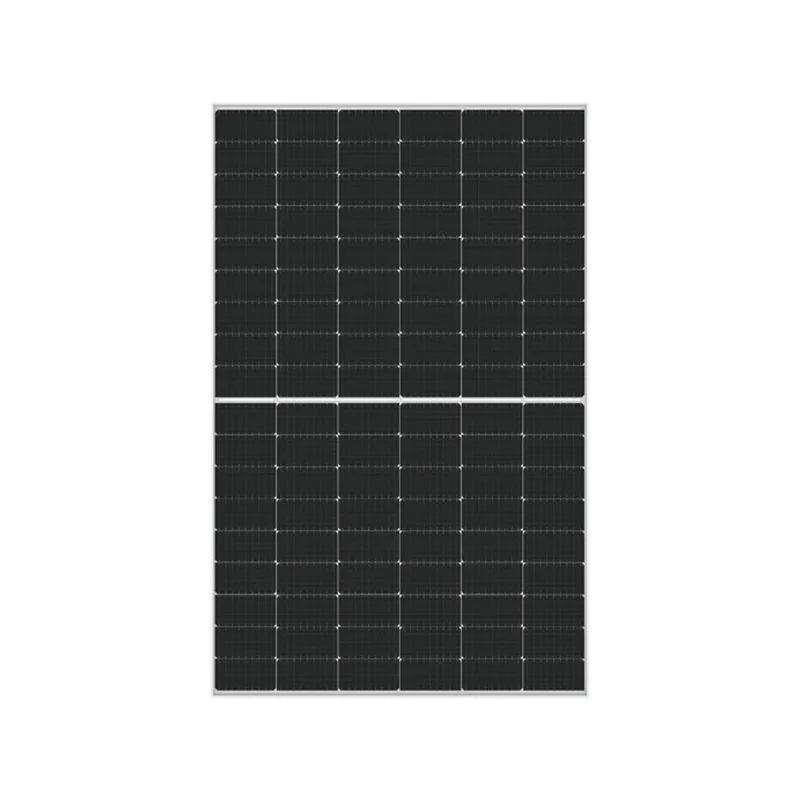
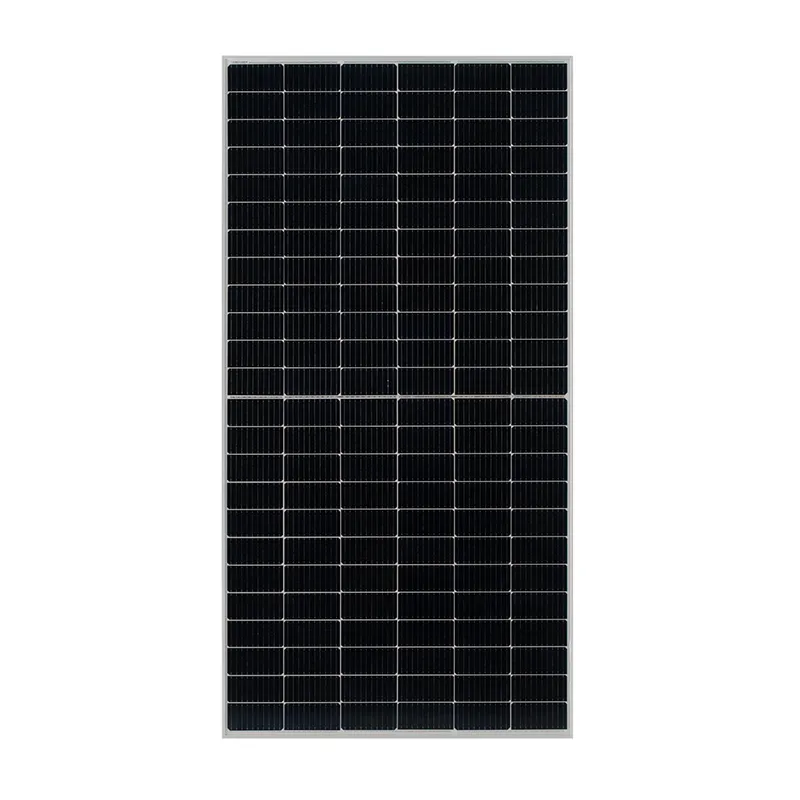
solar panels how to build your own
How to Build Your Own Solar Panels
Building your own solar panels can be an empowering and cost-effective way to harness renewable energy for your home. With rising energy costs and growing environmental concerns, more people are looking toward solar energy as a viable solution. This guide will provide an overview of the steps required to create your own solar panels, ensuring you have the knowledge and confidence to embark on this sustainable venture.
Materials Needed
Before you start building, gather the necessary materials. Here’s a basic list
1. Solar Cells These are the heart of your solar panel. You can buy individual solar cells online or from specialized suppliers. 2. Plywood or MDF Board This will serve as the backing for your panels. Ensure it's treated for weather resistance. 3. Glass Sheet A clear glass sheet will cover the solar cells, protecting them while allowing sunlight to penetrate. 4. Conductive Wiring Used to connect the solar cells and link them to your inverter or battery system. 5. Soldering Iron and Solder For connecting the solar cells and other electrical components. 6. Sealant To waterproof your solar panels and enhance durability.
Step-by-Step Process
1. Plan Your Design Decide how many solar cells you need based on the desired output. Standard solar cells have a voltage of around 0.5V. For a basic panel, you might want to configure your cells into a grid of 36 cells to achieve about 18V.
2. Prepare the Base Cut the plywood or MDF board to the desired size, usually about 3 to 4 feet long and 2 to 3 feet wide for a residential panel. Ensure the surface is smooth and free of debris.
solar panels how to build your own
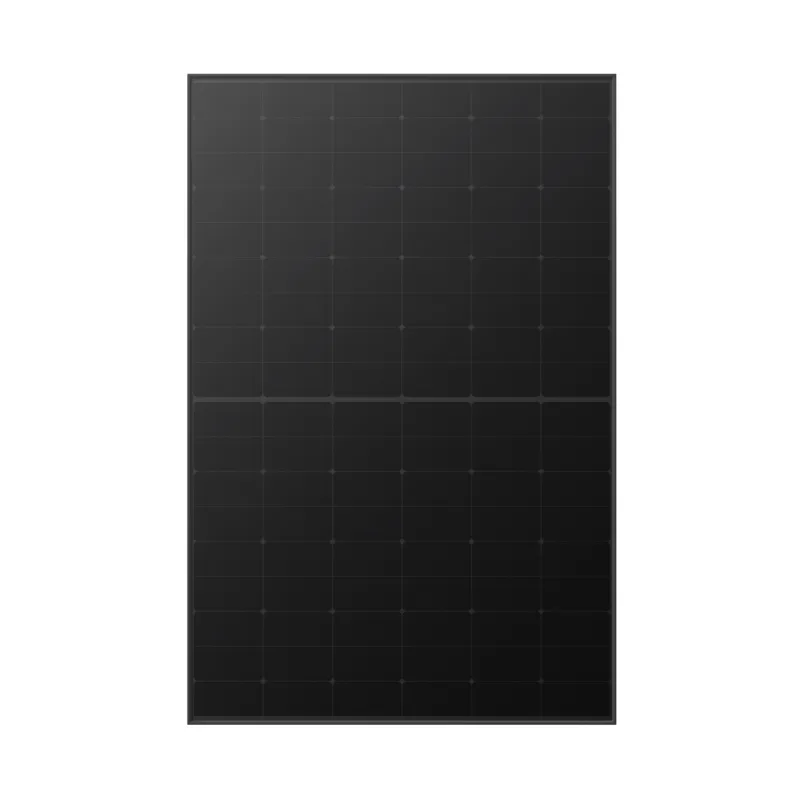
3. Layout the Solar Cells Place the solar cells on the board in the designed configuration. It's usually best to space them evenly to maximize light exposure.
4. Solder the Cells Start by connecting the cells in series or parallel, depending on your voltage requirements. Solder wires to the tabs on the solar cells, ensuring a secure connection. This step requires patience and precision, as a good solder joint is crucial for efficient performance.
5. Secure the Cells Once all cells are connected, use epoxy or a similar strong adhesive to secure them onto the base. Allow ample time for the adhesive to cure.
6. Add the Glass Cover Carefully position the glass sheet over the solar cells. Use silicone sealant around the edges to ensure the panel is waterproof. This prevents moisture from damaging the cells, especially if the panel will be exposed to the elements.
7. Install the Wiring Connect the output wires to your inverter or battery system. Ensure that all connections are tight and properly insulated.
8. Test the Panel Place your newly built solar panel outside in direct sunlight and use a multimeter to check the voltage output. This will help verify that you have built the panel correctly.
Conclusion
Building your own solar panels can be a fulfilling project that not only saves you money but also contributes to a more sustainable future. With a bit of skill, some patience, and careful planning, you can create a solar solution tailored to your energy needs. Remember to start small, test rigorously, and enjoy the process of harnessing the sun’s power right from your backyard!
-
Navigating Off Grid Solar Inverter: From Use Cases to Trusted PartnersNewsAug.05,2025
-
Solar Edge String Inverter: A Wholesaler’s Guide to Inverter Technology SelectionNewsAug.05,2025
-
Microinverters: Revolutionizing Solar Energy UseNewsAug.05,2025
-
Future of Monocrystalline Solar Panel Efficiency: Latest Technological AdvancesNewsAug.05,2025
-
Solar Panels for House: A Complete Guide to Residential Solar EnergyNewsAug.05,2025
-
Panel Bifacial Performance in Snow and Low-Light ConditionsNewsAug.05,2025
