build a solar panel
Building a Solar Panel A Step-by-Step Guide
In today's world, embracing renewable energy sources has become more critical than ever. One of the most accessible and efficient forms of renewable energy is solar power. Building your own solar panel can be a rewarding project that not only contributes to environmental sustainability but also saves you money on electricity bills. Here is a step-by-step guide to constructing your own solar panel.
Materials Needed
Before you start, gather the necessary materials solar cells, a plywood board for the panel backing, a glass sheet or transparent plastic for protection, wiring, a soldering iron, silicone sealant, and a charge controller if you plan to store energy in batteries. You can purchase solar cells from various online retailers or specialty stores.
Step 1 Design Your Panel
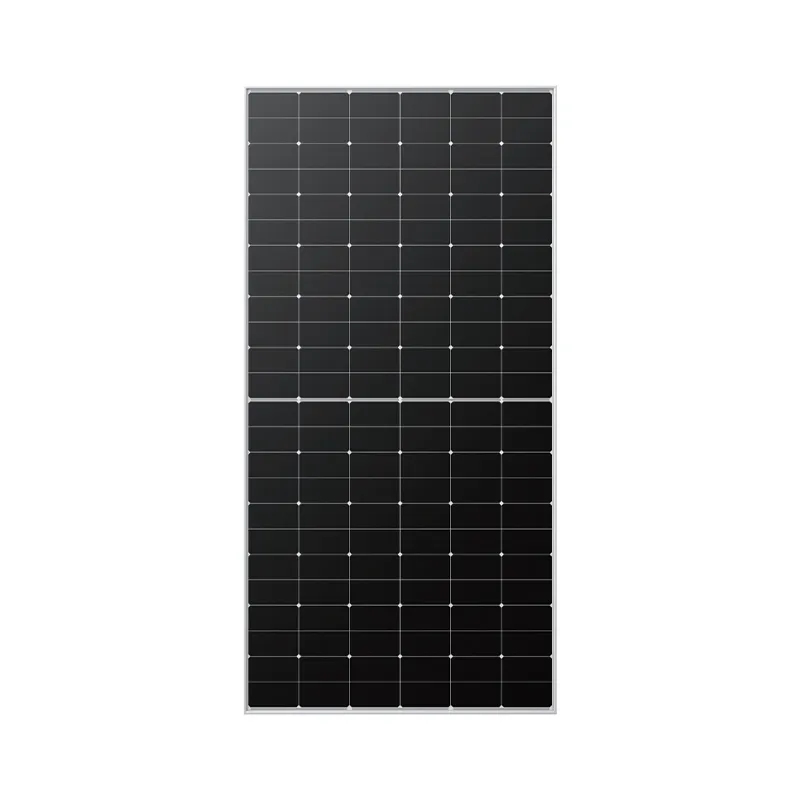
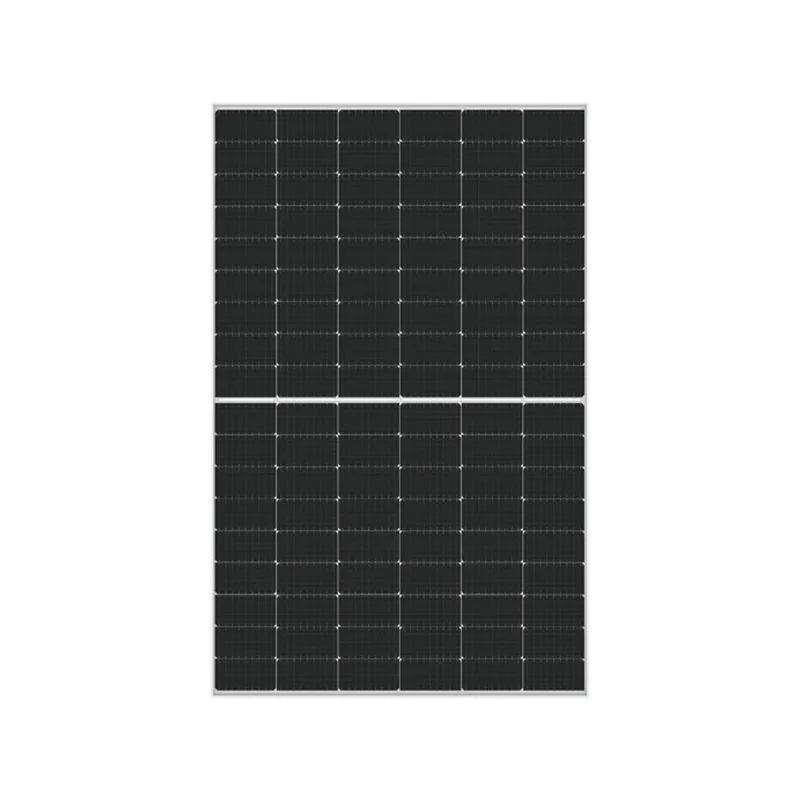
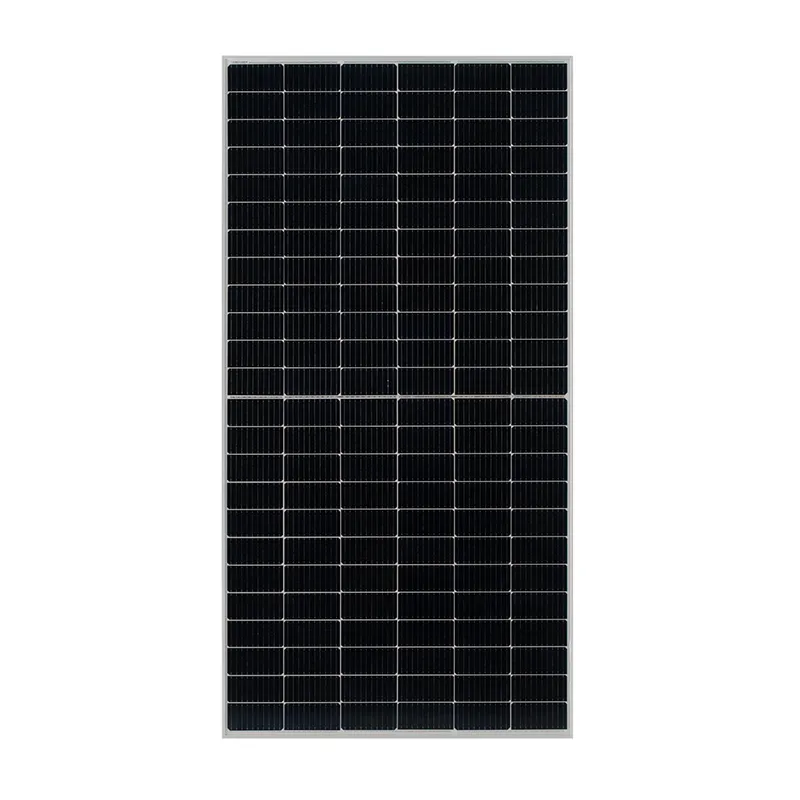
Determine the size and layout of your solar panel based on the available space and your energy needs. A standard solar panel consists of multiple solar cells connected in series and parallel to achieve the desired voltage and current output. Plan the arrangement of the cells on your backing board before attaching them.
Step 2 Preparing the Backing Board
Take a piece of plywood, typically around 3 feet by 2 feet, and ensure it is clean and free from moisture. This board will serve as the foundation for your solar panel. Once prepared, you can paint it black to enhance heat absorption, although this step is optional.
Step 3 Soldering Solar Cells
Begin to solder your solar cells together. Connect the positive terminal of one cell to the negative terminal of the next. Ensure that all connections are secure and check for the correct polarity. A typical panel might contain 36 cells, arranged to maximize efficiency.
build a solar panel
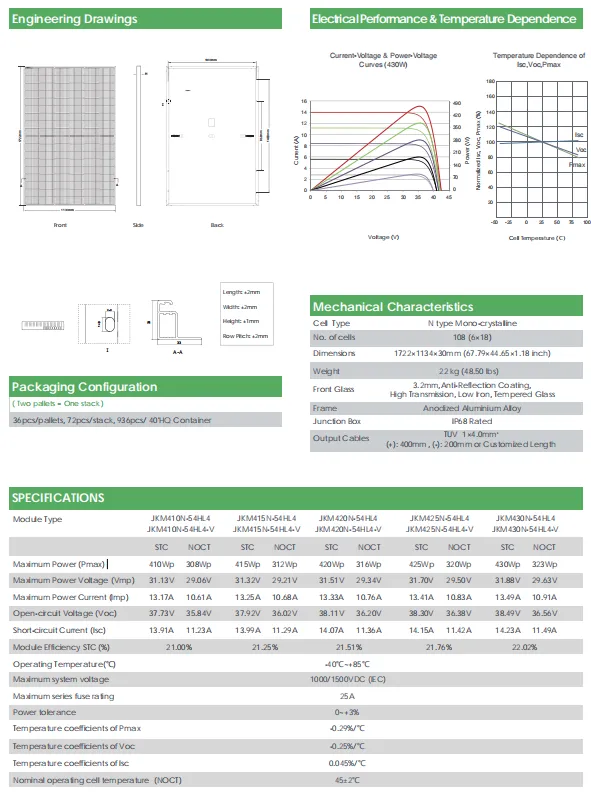
Step 4 Mounting the Cells
Once soldered, carefully place the solar cells onto the plywood board according to your design. Use a small amount of silicone sealant to hold the cells in place. Be cautious not to apply too much, as it can obstruct the electricity flow.
Step 5 Securing with Glass
Next, cover the cells with a glass sheet or transparent plastic to protect them from the elements. Ensure the cover is sealed properly using silicone to prevent moisture from entering the panel.
Step 6 Wiring and Final Assembly
Connect the output wires from your solar cells to the charge controller, which regulates the energy flow to your batteries or directly to your inverter if you are using the solar power immediately. Make sure all connections are secure and insulated to avoid short circuits.
Step 7 Testing Your Panel
After everything is assembled, place your solar panel in a sunny spot and connect it to your electrical system. Use a multimeter to test the voltage output and ensure everything is functioning correctly.
Building your own solar panel may seem daunting, but with careful planning and execution, you can harness the power of the sun to create a sustainable energy source for your home. Not only will you reduce your carbon footprint, but you'll also gain valuable knowledge about renewable energy technology.
-
String Solar Inverter: The High-Efficiency Solution for Smart Solar EnergyNewsJul.14,2025
-
Revolutionizing Rooftop Energy with the Power of the Micro Solar InverterNewsJul.14,2025
-
Power Independence with Smart Off Grid Solar Inverter SolutionsNewsJul.14,2025
-
On Grid Solar Inverter: Powering the Future with Smart Grid IntegrationNewsJul.14,2025
-
Monocrystalline Solar Panels: High-Efficiency Power for the Future of Clean EnergyNewsJul.14,2025
-
Bifacial Solar Panel: A Smarter Investment for Next-Generation Energy SystemsNewsJul.14,2025
