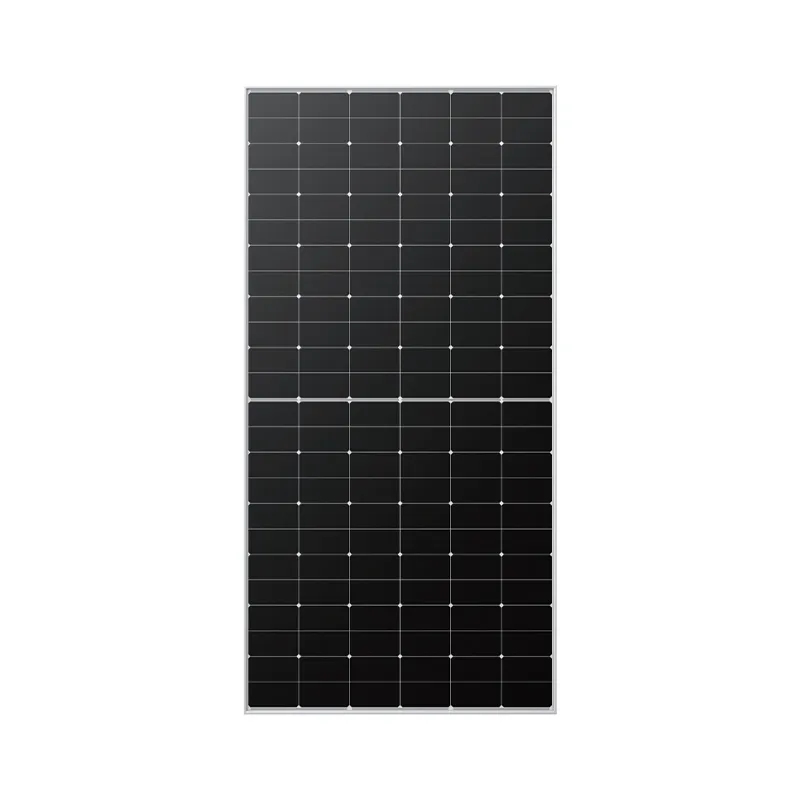
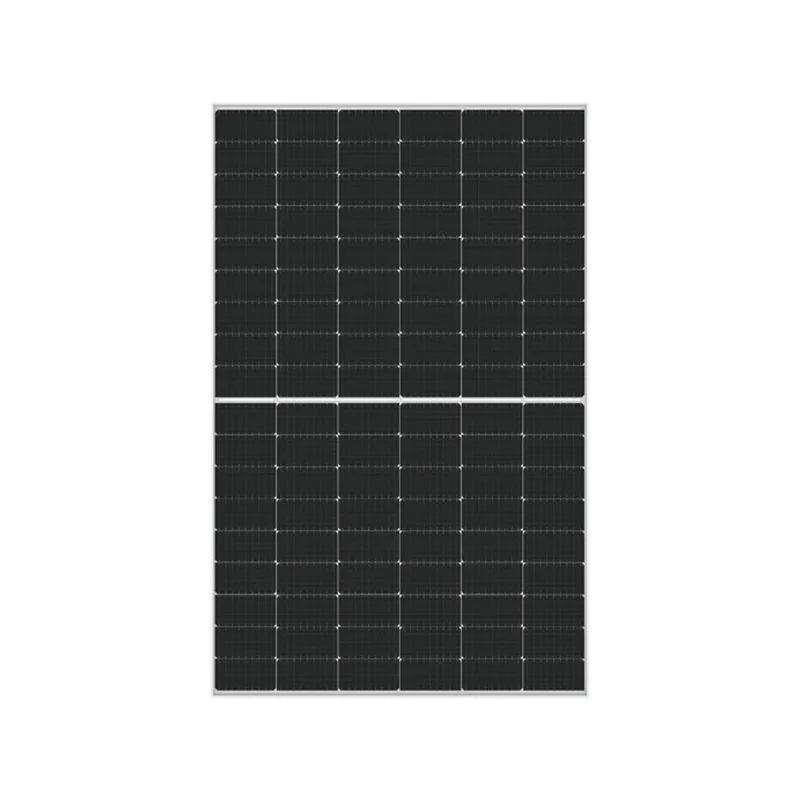
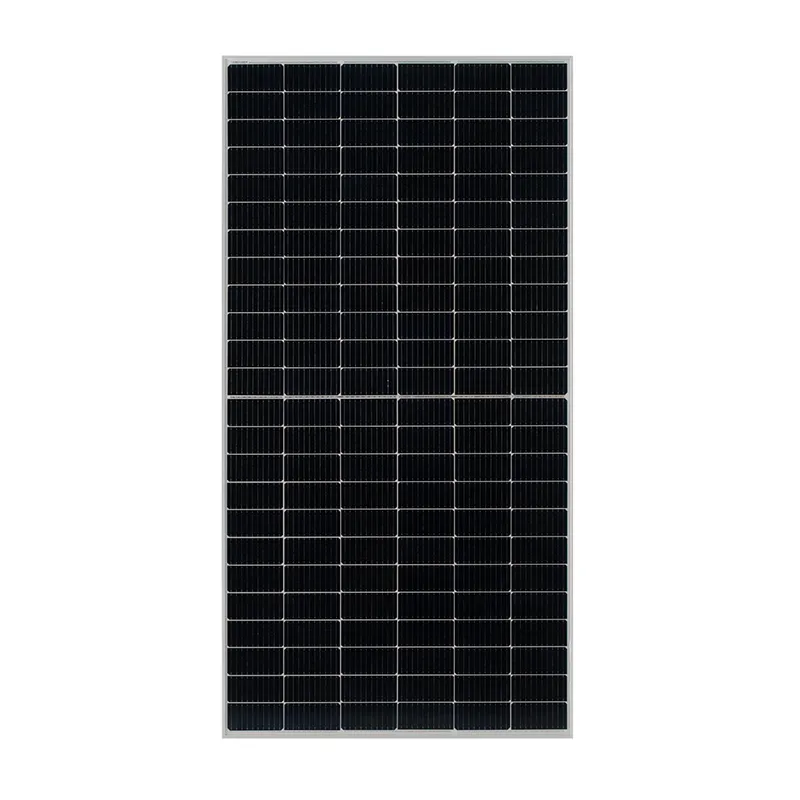
solar panels how to build your own
Building your own solar panels can be a rewarding and eco-friendly project that not only lowers your electricity bills but also contributes to a sustainable future. With rising energy costs and environmental concerns, more individuals are exploring solar power as a viable alternative. Here’s a step-by-step guide on how to build your own solar panels.
Materials Needed Before you begin, gather the necessary materials photovoltaic (PV) solar cells, a soldering iron, solder, glass or acrylic for the panel cover, a wooden or aluminum frame, and wires for connections. You will also need a multimeter to test the connections and outputs during assembly.
Step 1 Planning Your Panel Decide how much power you want to generate. This will determine the number of solar cells you'll need. Typically, a standard 5x5-inch solar cell produces about 0.5 volts and 3-4 watts of power. Calculate the total voltage and wattage you desire to ensure you purchase enough cells.
Step 2 Connecting Solar Cells Once you have your cells, you’ll need to connect them in series to increase the voltage. This means soldering the positive terminal of one cell to the negative terminal of the next. Continue this process until all cells are connected. Make sure to carefully buff the solder areas to ensure a good connection.
Step 3 Creating the Panel After connecting the cells, lay them out on a flat surface and secure them with glass or acrylic. This will protect the cells from environmental damage. Use the wooden or aluminum frame to enclose the panel, ensuring that it is sturdy and weatherproof.
solar panels how to build your own
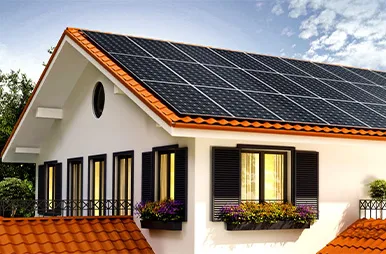
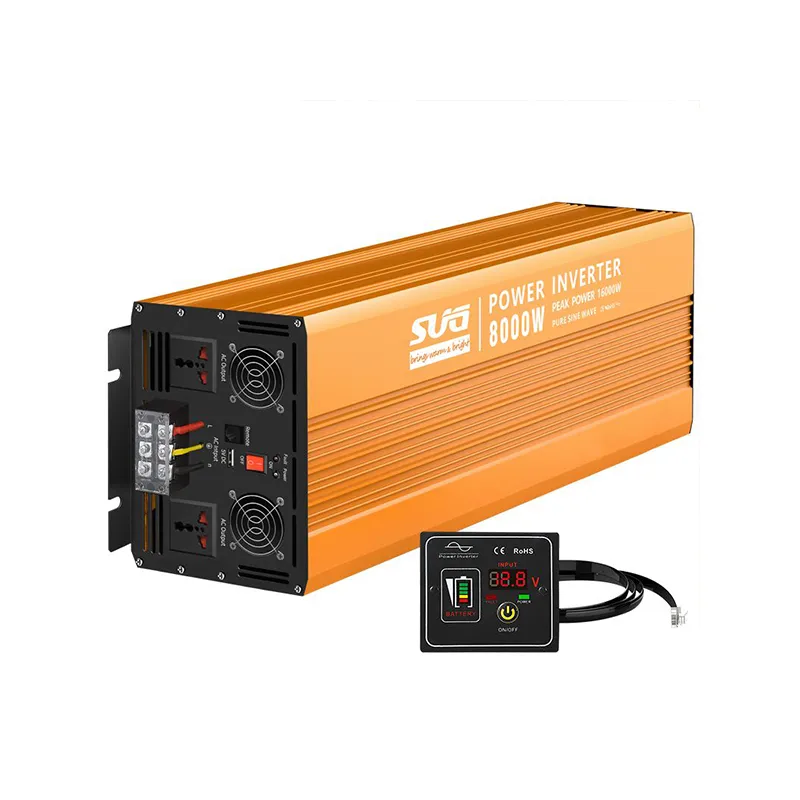
Step 4 Wiring Attach wires to the ends of the series of cells. These wires will connect your solar panel to a charge controller if you are charging batteries, or directly to an inverter if you’re using it to power appliances. Make sure your connections are secure and insulated.
Step 5 Testing Before installation, use a multimeter to test your panel. Ensure it’s producing the expected voltage and wattage. If everything is functioning correctly, you can proceed to the installation.
Step 6 Installation Position your solar panel in a location with maximum sunlight exposure, preferably at an angle to capture the sun throughout the day. Securely mount it, and connect it to your power system.
Conclusion Building your own solar panels can be both a fun project and a step towards energy independence. While the process requires some technical skills and tools, many DIYers find it immensely satisfying. Not only can you save money on energy costs, but you also play a part in harnessing renewable energy. With dedication and careful planning, you'll have a functional solar panel to enjoy.
-
Navigating Off Grid Solar Inverter: From Use Cases to Trusted PartnersNewsAug.05,2025
-
Solar Edge String Inverter: A Wholesaler’s Guide to Inverter Technology SelectionNewsAug.05,2025
-
Microinverters: Revolutionizing Solar Energy UseNewsAug.05,2025
-
Future of Monocrystalline Solar Panel Efficiency: Latest Technological AdvancesNewsAug.05,2025
-
Solar Panels for House: A Complete Guide to Residential Solar EnergyNewsAug.05,2025
-
Panel Bifacial Performance in Snow and Low-Light ConditionsNewsAug.05,2025
