solar hybrid inverter installation guide
Guide to Installing a Solar Hybrid Inverter
A solar hybrid inverter is a versatile option that not only converts solar energy into usable electricity but also allows for battery integration, thus providing backup power during outages. If you're considering installing one, this guide will help you understand the process and ensure a successful setup.
Understanding Your Solar Hybrid Inverter
Before installation, it’s essential to understand the components and functionality of a solar hybrid inverter. Unlike a standard solar inverter, a hybrid inverter can manage inputs from both solar panels and battery storage systems. This feature allows users to maximize their energy independence, optimize solar energy usage, and save on utility bills.
Step 1 Planning Your Installation
Start by assessing your energy needs. Calculate your average daily electricity consumption to determine the proper size of the inverter and battery system required. Look into local regulations and incentives for solar energy installations. It might be worthwhile to consult with a professional installer who can provide insights into the best practices and legal requirements in your area.
Step 2 Choosing the Right Location
The installation site should be dry, well-ventilated, and easily accessible for maintenance. Ensure that the inverter is positioned close to the main power supply and solar panels for efficiency. It’s also important to consider the ambient temperature, as excessive heat can impact the inverter's performance. Ideally, place it in a shaded area or inside a cool room.
Step 3 Installing the Solar Panels
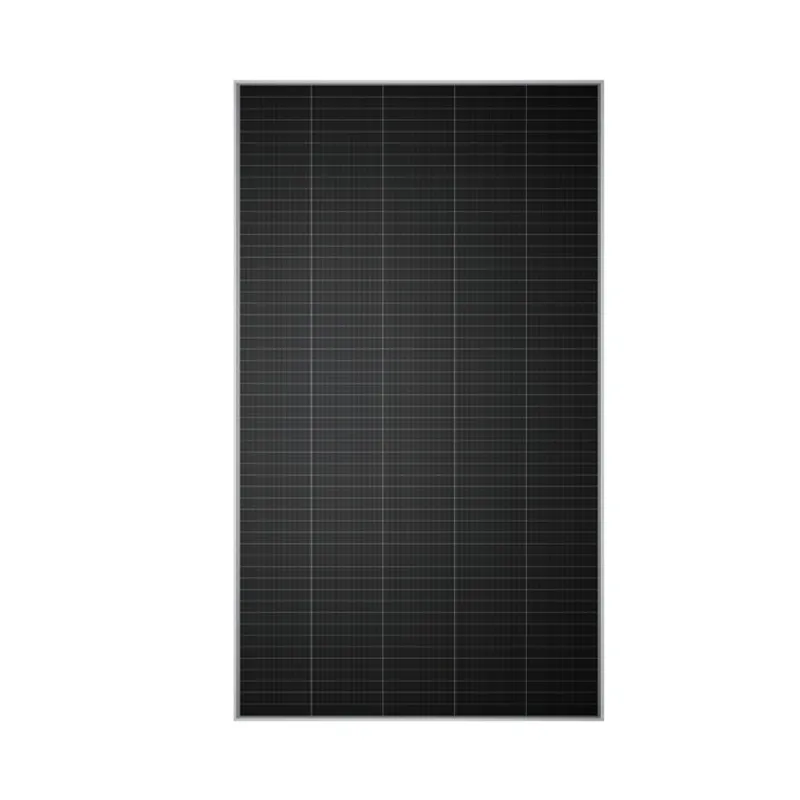
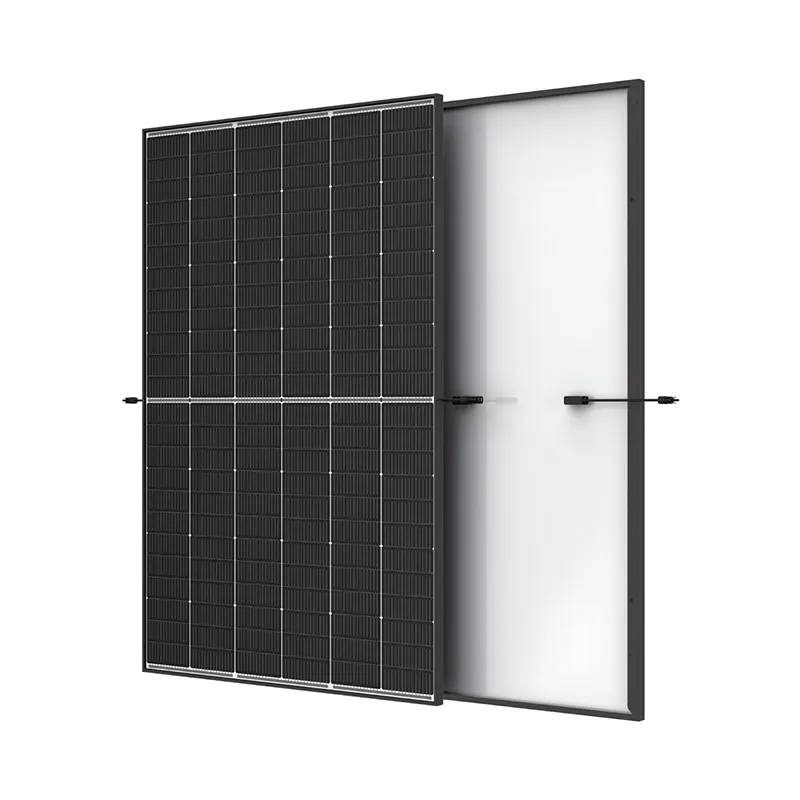
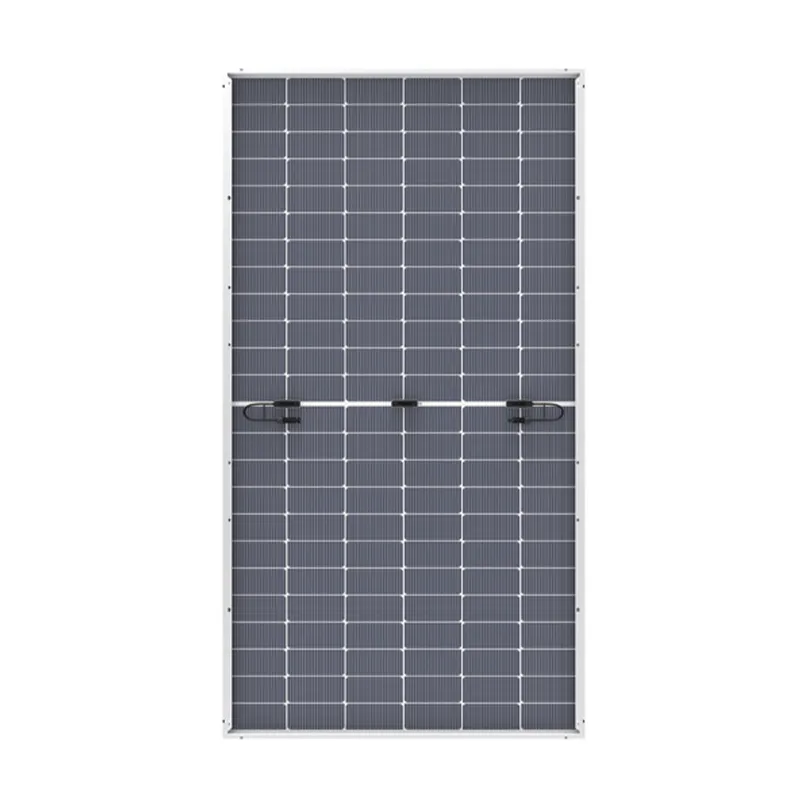
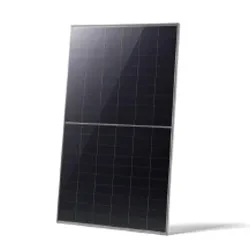
Before installing the inverter, your solar panels should be properly mounted and connected. Ensure that you follow the manufacturer’s guidelines for the installation. Secure the solar panels on the roof or in a designated area where they will receive ample sunlight. Connect the panels using high-quality cabling, ensuring that connections are tight and properly insulated to prevent energy loss and hazards.
solar hybrid inverter installation guide
Step 4 Connecting the Inverter
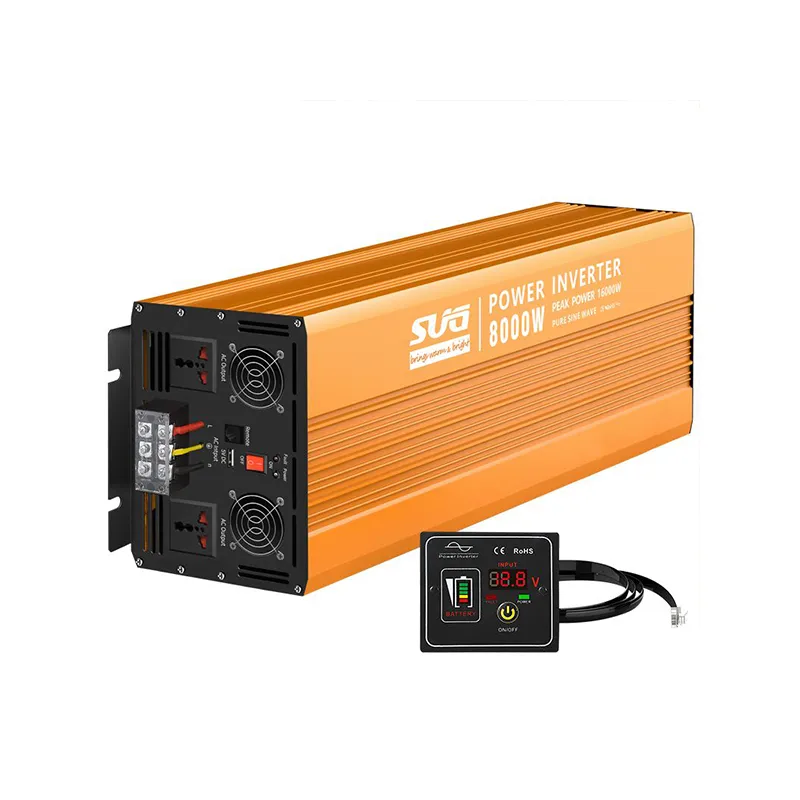
Once your panels are in place, it’s time to install the solar hybrid inverter. Begin by mounting the inverter on the wall using appropriate brackets. Make sure it is level and securely fastened. Next, connect the solar panel output wires to the inverter’s input terminals, ensuring you follow polarity guidelines (positive to positive, negative to negative).
If your system includes batteries, connect the battery cables to the inverter. Again, pay close attention to polarity. Most hybrid inverters will have a designated port for battery connection, which should be clearly labeled.
Step 5 Making Electrical Connections
After all the components are connected, it’s time to wire the inverter to your home electrical panel. This step often requires a licensed electrician to ensure safety and compliance with local codes. The electrician will connect the inverter to the grid, allowing you to sell excess energy back to the utility and harness the power generated from your solar panels.
Step 6 Testing and Monitoring
Once everything is connected, power on the inverter and monitor its performance. Most hybrid inverters come with a monitoring app that lets you check energy production, consumption, and battery status right from your smartphone. Ensure that all connections are secure and that the system is operating as intended.
Conclusion
Installing a solar hybrid inverter can be a rewarding project that enhances your home’s energy efficiency and sustainability. By following these steps and ensuring safety throughout the process, you can significantly benefit from solar energy and contribute to a greener planet. Whether you choose to go the DIY route or hire a professional, proper planning and execution are crucial for a successful installation. Enjoy your journey towards energy independence!
-
String Solar Inverter: The High-Efficiency Solution for Smart Solar EnergyNewsJul.14,2025
-
Revolutionizing Rooftop Energy with the Power of the Micro Solar InverterNewsJul.14,2025
-
Power Independence with Smart Off Grid Solar Inverter SolutionsNewsJul.14,2025
-
On Grid Solar Inverter: Powering the Future with Smart Grid IntegrationNewsJul.14,2025
-
Monocrystalline Solar Panels: High-Efficiency Power for the Future of Clean EnergyNewsJul.14,2025
-
Bifacial Solar Panel: A Smarter Investment for Next-Generation Energy SystemsNewsJul.14,2025
