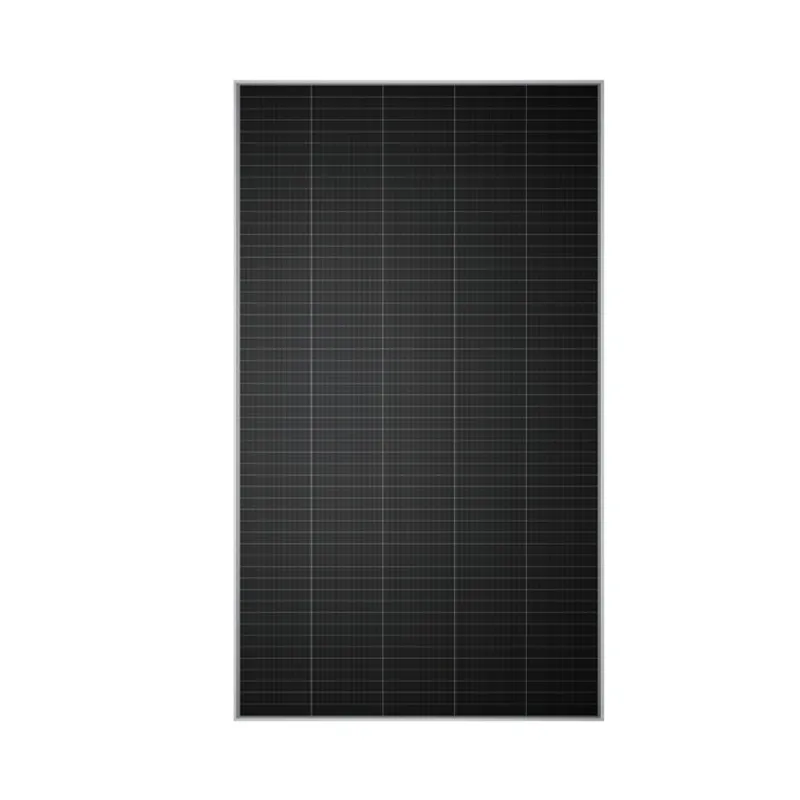
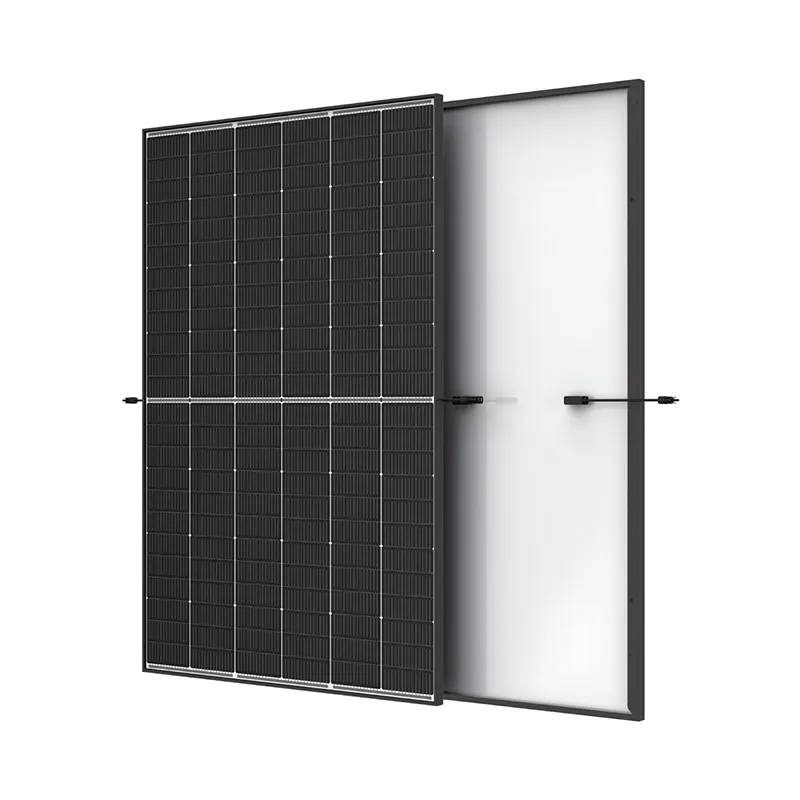
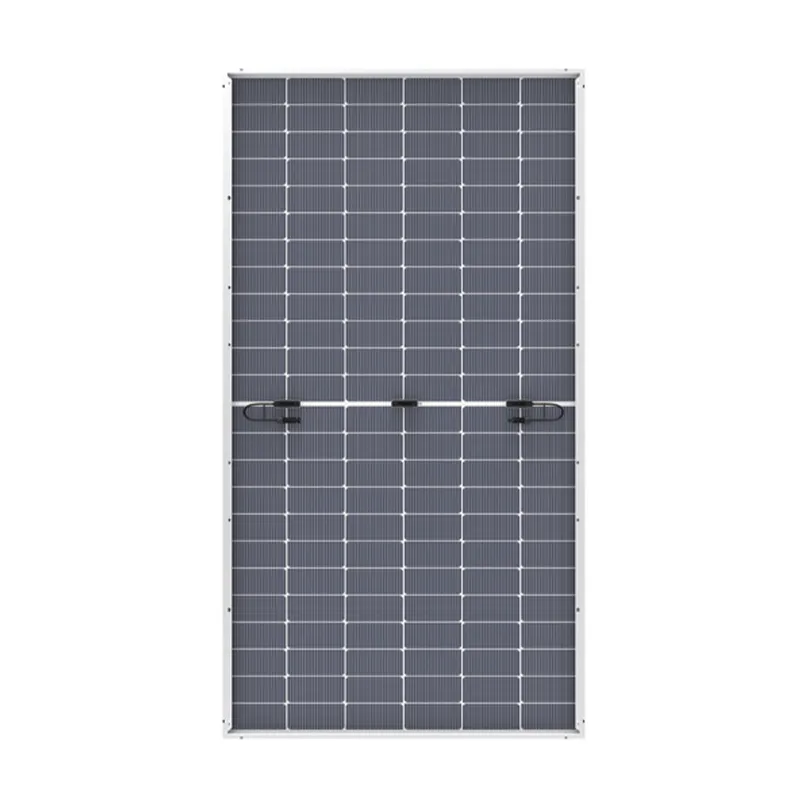
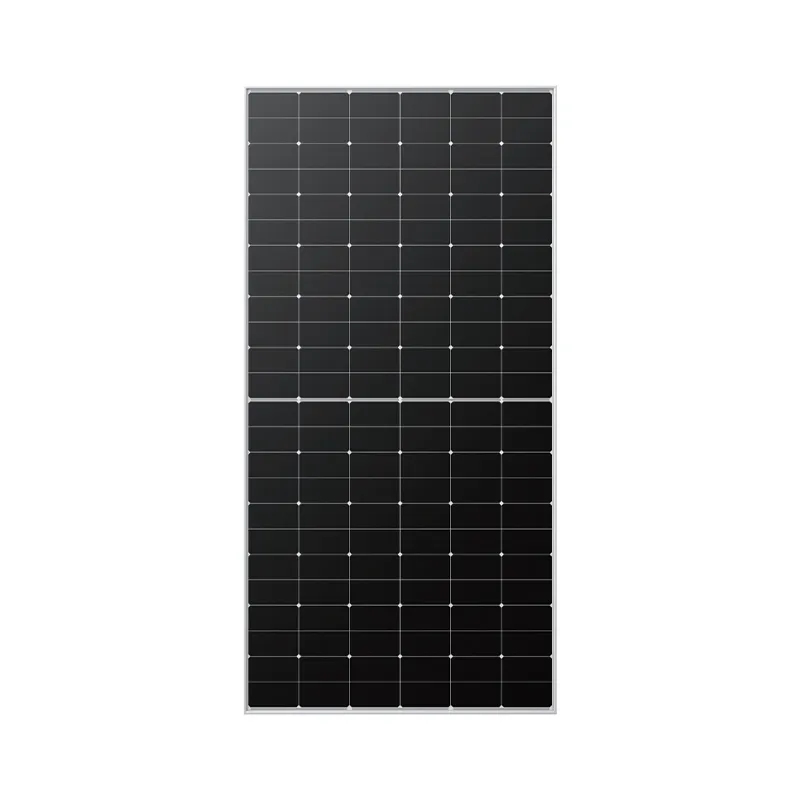
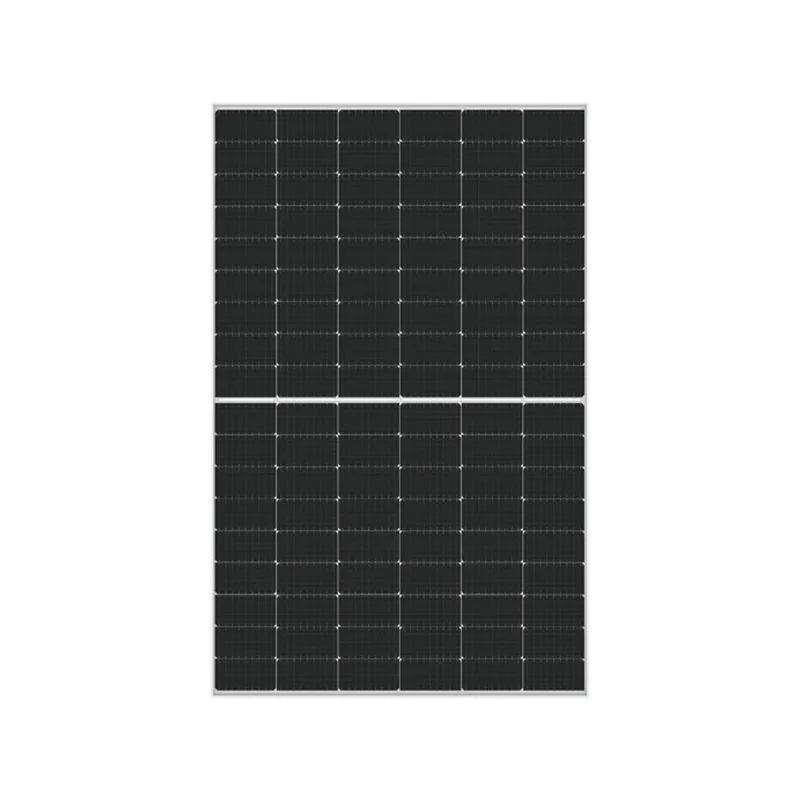
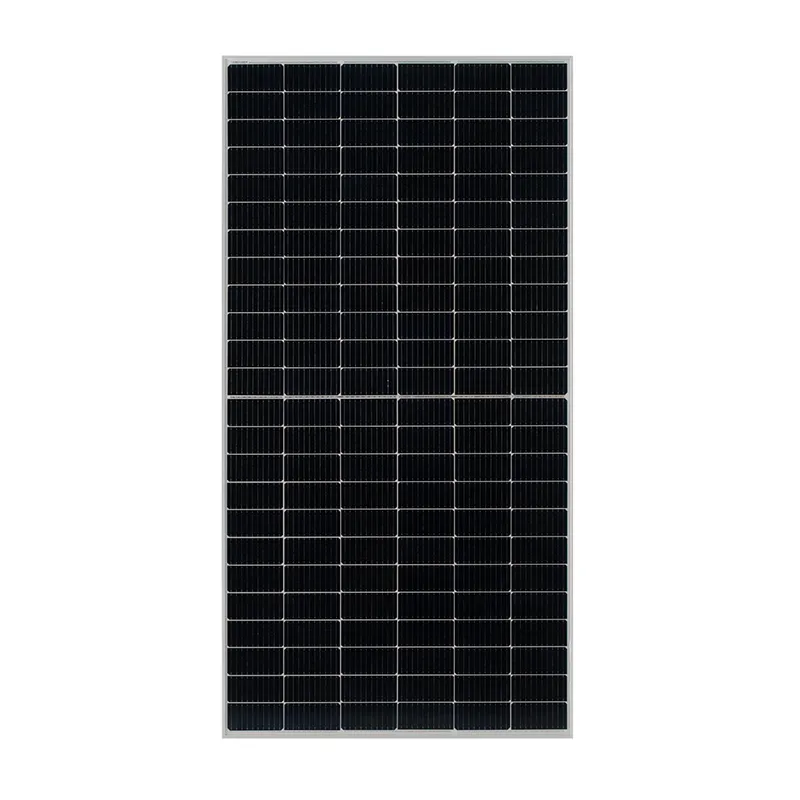
installing solar panels on tile roof
Installing Solar Panels on Tile Roofs
The growing interest in renewable energy has led many homeowners to consider solar panels as a viable option for sustainable energy solutions. Among various roofing types, tile roofs are notably popular due to their aesthetic appeal and durability. However, installing solar panels on tile roofs requires careful planning and execution to ensure both efficiency and protection for your roof. This article will guide you through the key considerations and steps involved in installing solar panels on a tile roof.
Understanding Tile Roofs
Tile roofs, typically made from clay or concrete, are known for their longevity and resistance to harsh weather conditions. They provide excellent insulation, which contributes to energy efficiency. However, their unique structure poses specific challenges for solar panel installation. The interlocking design of tiles can complicate the mounting process, and the weight of the panels may require additional support.
Assessing Suitability
Before proceeding with installation, it is essential to assess the suitability of your tile roof for solar panels. Factors such as the roof's age, condition, and orientation toward the sun play a significant role in determining efficiency. Ideally, roofs should be less than 15 years old and in good condition. Additionally, roofs that face south, southwest, or southeast will generally collect the most sunlight throughout the day.
Hiring Professionals
Installing solar panels on a tile roof is not a DIY project. It is crucial to hire professionals who specialize in solar energy systems and have experience working with tile roofs. They will understand the nuances of handling tiles and ensure that the installation does not compromise the roof's integrity. Their expertise will also help in minimizing any risk of leaks or structural damage.
Installation Process
installing solar panels on tile roof
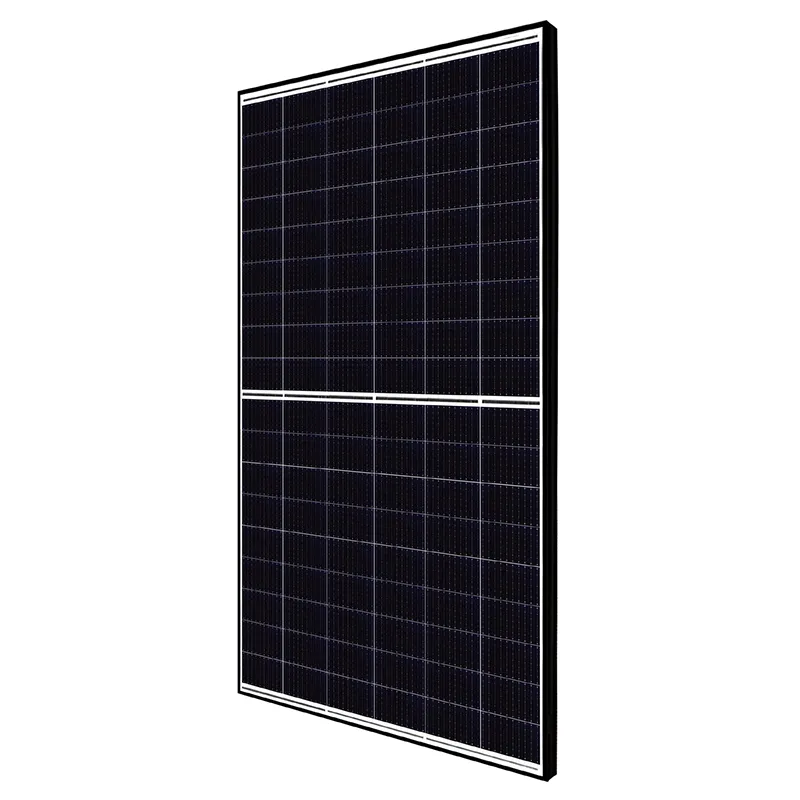
1. Site Assessment A thorough site assessment is performed to determine the optimal placement of solar panels. This includes evaluating the roof's slope, shading from trees or nearby buildings, and structural integrity.
2. Preparation The installation team will prepare the roof by cleaning the surface and ensuring that all tiles are secure. Any broken or loose tiles should be replaced to prevent issues post-installation.
3. Mounting System Installation A specific mounting system designed for tile roofs is utilized. This often involves using flashing and rail systems to secure the panels while allowing for proper drainage of water. Proper sealing techniques are also employed to prevent leaks.
4. Panel Installation Once the mounting system is secured, the solar panels are attached. The installation team will arrange the panels to maximize sunlight exposure while adhering to local regulations and building codes.
5. Electrical Connections Following the physical installation, electrical connections are made to link the panels to the inverter and the home’s electrical system. A qualified electrician should complete this step to ensure safety and compliance with regulations.
Maintenance Considerations
After installation, maintaining your solar panels is important for maximizing their efficiency. Regular cleaning to remove debris, leaves, and dust is essential. Additionally, periodic inspections by a professional can help identify potential issues before they become significant problems.
Conclusion
Installing solar panels on a tile roof is a rewarding investment toward renewable energy. By understanding the specific requirements and hiring experienced professionals, homeowners can enjoy the benefits of solar energy while preserving the integrity and beauty of their tile roofs. With the right approach, solar panels can provide significant energy savings and contribute to a more sustainable future.
-
String Solar Inverter: The High-Efficiency Solution for Smart Solar EnergyNewsJul.14,2025
-
Revolutionizing Rooftop Energy with the Power of the Micro Solar InverterNewsJul.14,2025
-
Power Independence with Smart Off Grid Solar Inverter SolutionsNewsJul.14,2025
-
On Grid Solar Inverter: Powering the Future with Smart Grid IntegrationNewsJul.14,2025
-
Monocrystalline Solar Panels: High-Efficiency Power for the Future of Clean EnergyNewsJul.14,2025
-
Bifacial Solar Panel: A Smarter Investment for Next-Generation Energy SystemsNewsJul.14,2025
