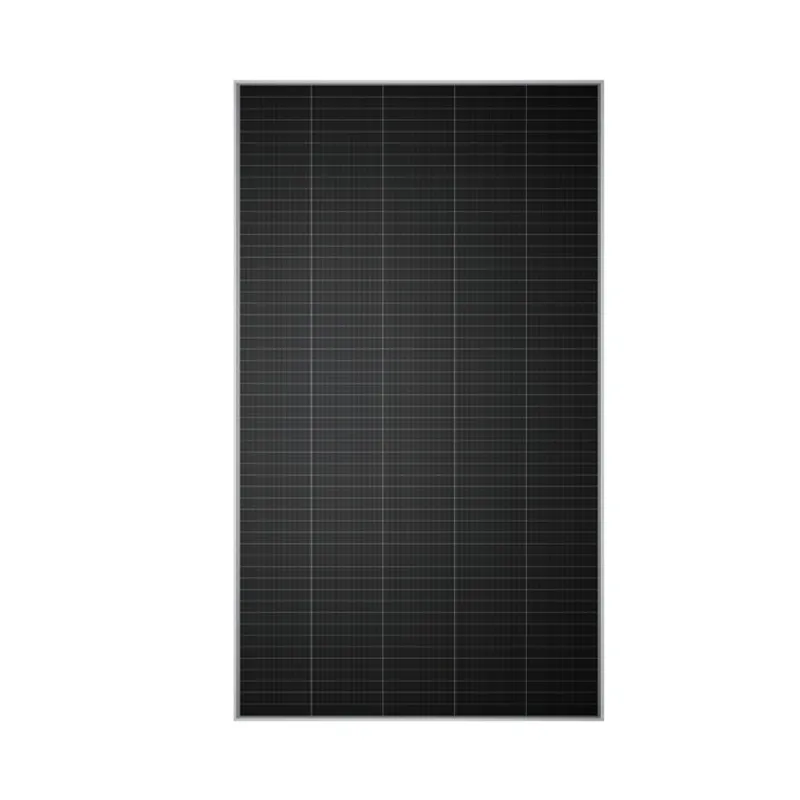
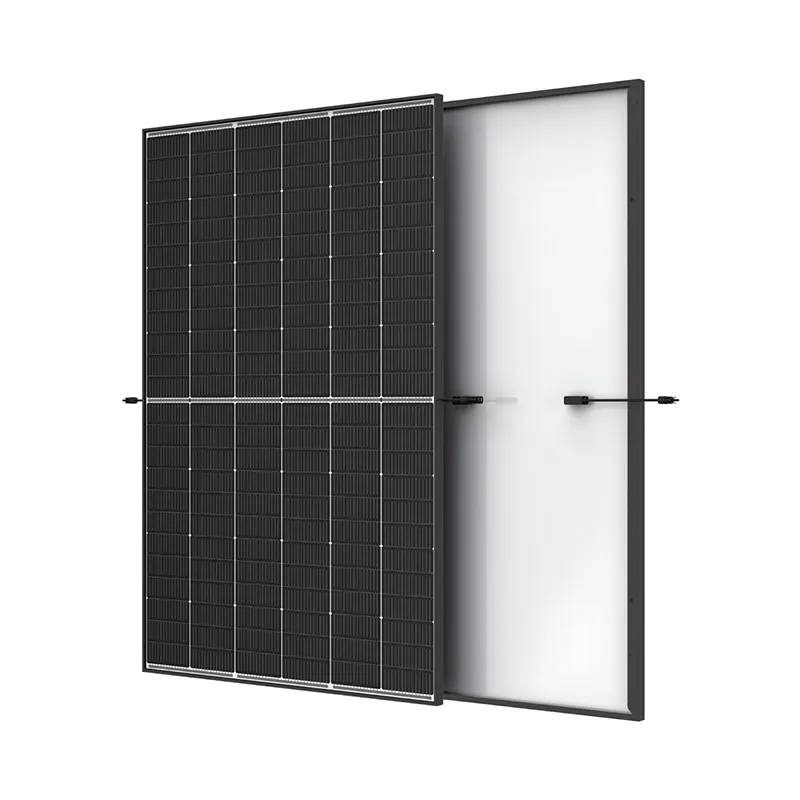
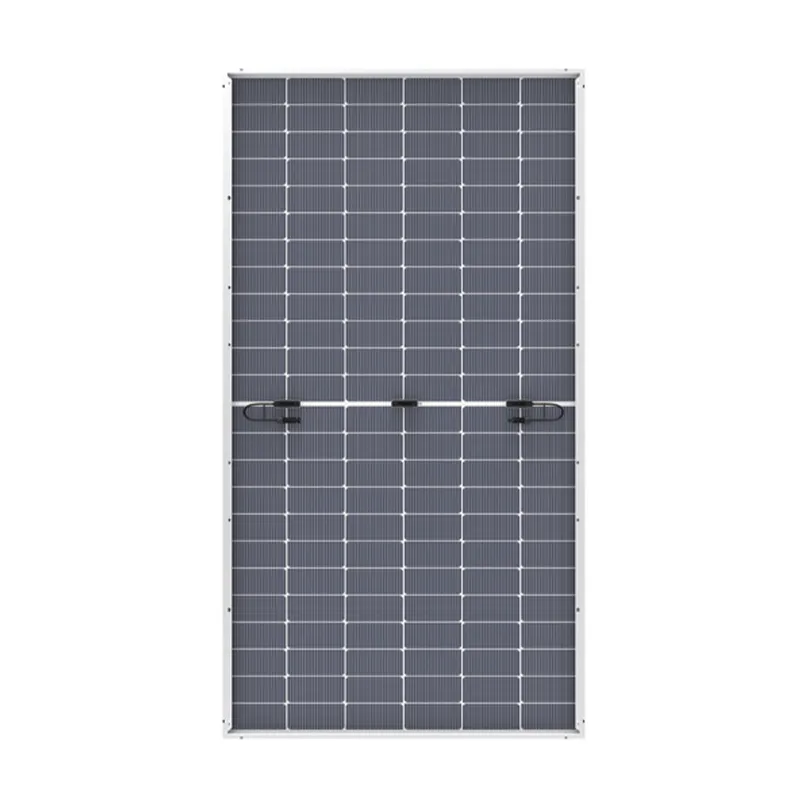
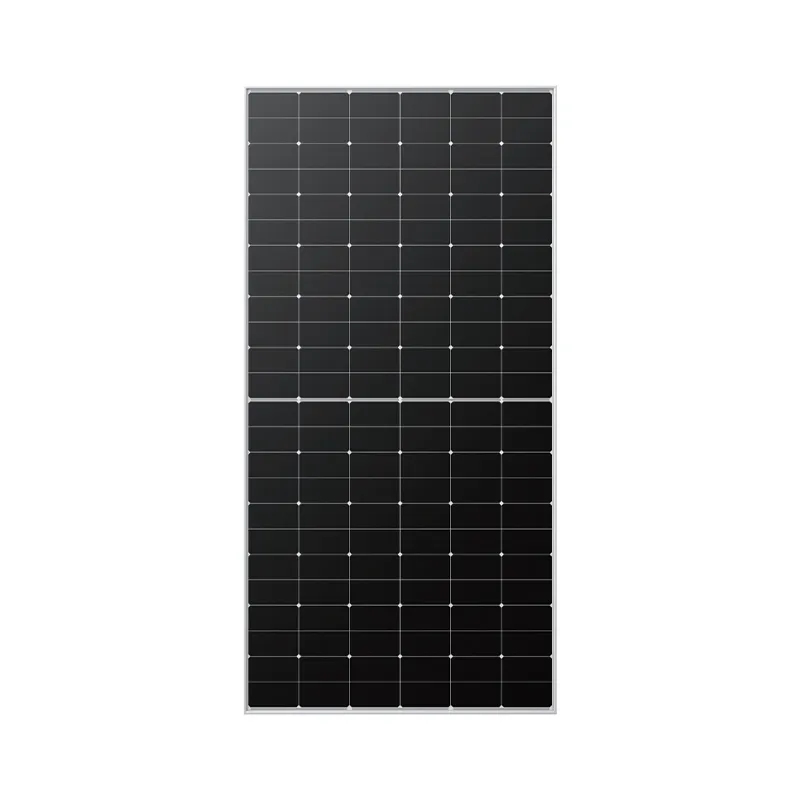
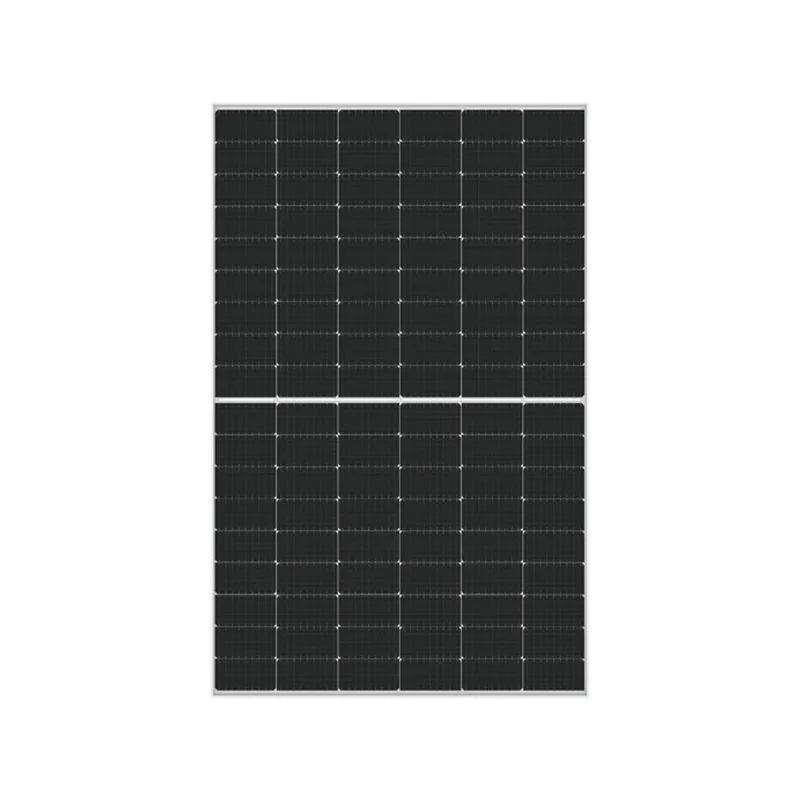
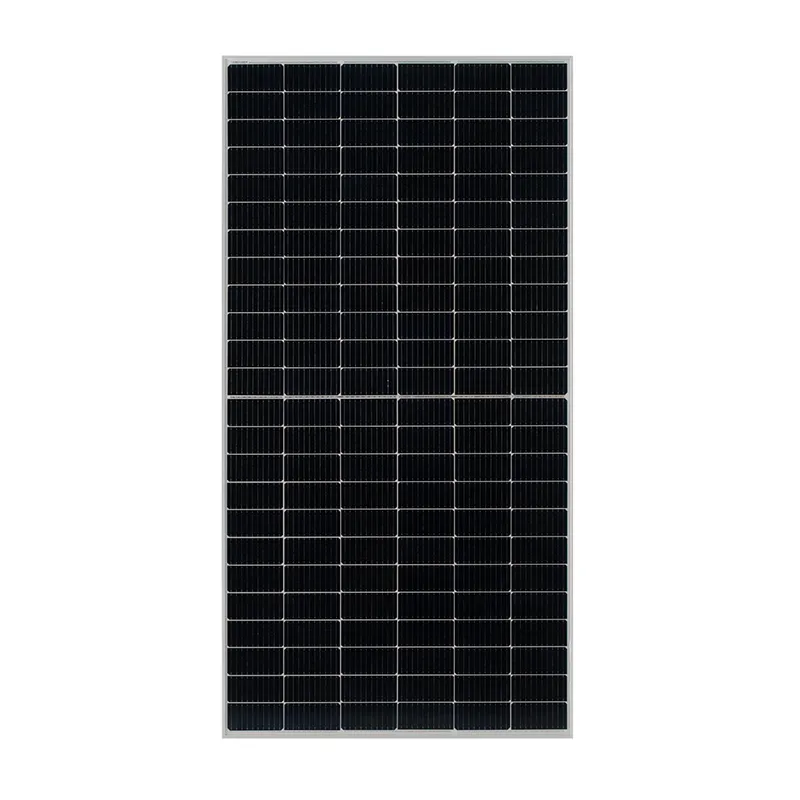
fitting solar panels to tiled roof
Fitting Solar Panels to a Tiled Roof A Comprehensive Guide
As the demand for renewable energy continues to grow, homeowners are increasingly interested in installing solar panels. One common challenge faced by many is how to fit solar panels onto a tiled roof. Tiled roofs, while aesthetically pleasing, can present unique installation difficulties. This article outlines the steps necessary to successfully install solar panels on a tiled roof, ensuring both efficiency and safety.
Understanding Your Roof Type
The first step in fitting solar panels to a tiled roof is to understand the type of tiles you have. Tiled roofs can be made from various materials including clay, concrete, and slate, each requiring specific installation techniques. It’s important to identify the roof type because this will influence the mounting system used and the installation process.
Preparing for Installation
Before the actual installation begins, proper preparation is crucial. Start by conducting a roof inspection to assess its condition. Check for loose tiles, leaks, or any necessary repairs. Any existing issues should be addressed prior to installation, as solar panels will only be as effective as the roof beneath them.
Additionally, check for local regulations and obtain any necessary permits. Each locality may have different requirements for solar panel installations, including setback requirements and zoning laws. Consulting with local authorities will help you navigate these regulations smoothly.
Choosing the Right Mounting System
fitting solar panels to tiled roof
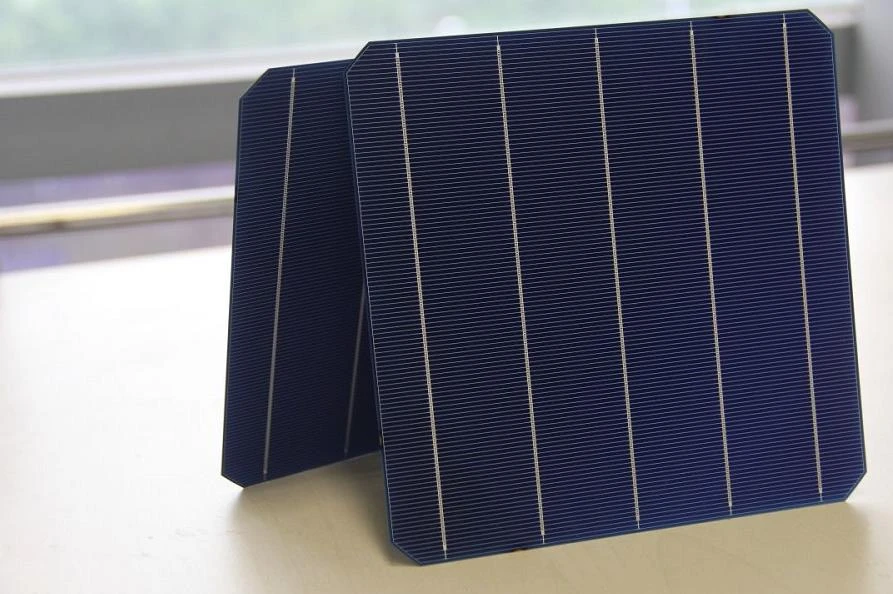
The next phase involves selecting an appropriate mounting system. For tiled roofs, there are generally two types of mounting systems fixed and adjustable. Fixed mounts are straightforward and ideal for roofs with a consistent pitch, while adjustable systems can accommodate varying roof angles. Often, a rail system is used, which allows panels to be securely attached while providing flexibility in arrangement.
When selecting a mounting system, ensure it is specifically designed for tiled roofs. Proper mounts will interlock with the tiles, providing stability and reducing the risk of leaks. It’s crucial to avoid damaging the tiles during installation, so choose a system that complements the existing roof structure.
Installation Process
Once you have chosen the right mounting system, it’s time to start the installation. Begin by removing any necessary tiles to install the mounting brackets. It’s essential to replace these tiles carefully to avoid compromising the roof’s integrity. The brackets should be securely fastened to the roof trusses, ensuring they can withstand wind loads and other weather-related pressures.
After installing the brackets, reposition the removed tiles around them. The key is to maintain the roof’s original look while ensuring the mounts are hidden as much as possible. Once the mounts are in place, the solar panels can be attached. Secure the panels to the rails using the specified hardware, ensuring that all connections are tight and weatherproof.
Final Steps and Maintenance
Upon completion of the installation, it’s crucial to test the system. This includes checking electrical connections and ensuring that the panels are functioning efficiently. Regular maintenance is equally vital. Periodically inspect the roof and the solar panels to catch any potential issues early. Cleaning the panels and ensuring that debris does not accumulate will help maintain maximum efficiency.
In conclusion, fitting solar panels to a tiled roof involves careful planning and execution. By understanding the roof type, preparing adequately, choosing the right mounting system, and following the proper installation procedures, homeowners can reap the benefits of solar energy while maintaining the integrity of their tiled roofs. Embracing this sustainable energy solution not only reduces electricity bills but also contributes to a greener planet.
-
String Solar Inverter: The High-Efficiency Solution for Smart Solar EnergyNewsJul.14,2025
-
Revolutionizing Rooftop Energy with the Power of the Micro Solar InverterNewsJul.14,2025
-
Power Independence with Smart Off Grid Solar Inverter SolutionsNewsJul.14,2025
-
On Grid Solar Inverter: Powering the Future with Smart Grid IntegrationNewsJul.14,2025
-
Monocrystalline Solar Panels: High-Efficiency Power for the Future of Clean EnergyNewsJul.14,2025
-
Bifacial Solar Panel: A Smarter Investment for Next-Generation Energy SystemsNewsJul.14,2025
