Installing Solar Panels on a Shed Roof for Enhanced Energy Efficiency and Sustainable Living Solutions
Installing Solar Panels on a Shed Roof A Step-by-Step Guide
As the demand for renewable energy continues to rise, many homeowners are looking for ways to incorporate solar power into their lives. One practical and efficient option is installing solar panels on a shed roof. This not only helps in reducing your carbon footprint but also allows you to harness the sun's energy for various uses. Here’s a comprehensive guide on how to install solar panels on a shed roof.
1. Assess Your Shed’s Suitability
Before you dive into the installation process, evaluate whether your shed is a suitable candidate for solar panel installation. Key factors to consider include the size and orientation of the roof, its structural integrity, and exposure to sunlight. Ideally, your shed should have a south-facing roof that receives direct sunlight for most of the day. Check for any obstructions like trees, buildings, or other structures that may cast shadows on your shed.
2. Calculate Your Energy Needs
Understanding your energy consumption is crucial to determine the size and number of solar panels required. Take a look at your electricity bills to gauge your average usage. If you're using the shed as a workshop, storage, or for other purposes, consider the power requirements of the tools and appliances you'll be running. This information will help you choose the right system size.
3. Choose the Right Solar Panels
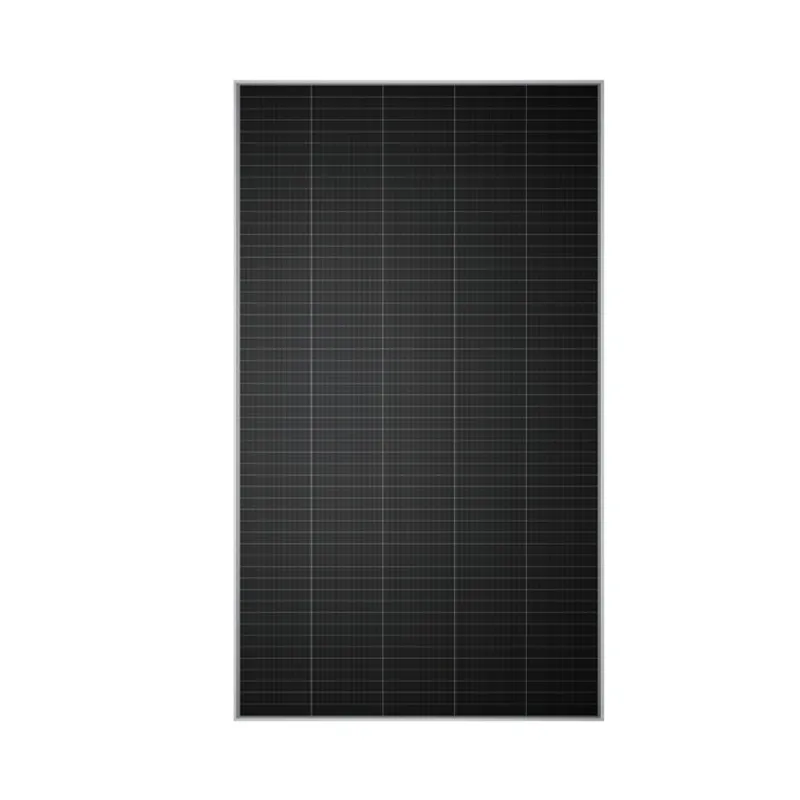
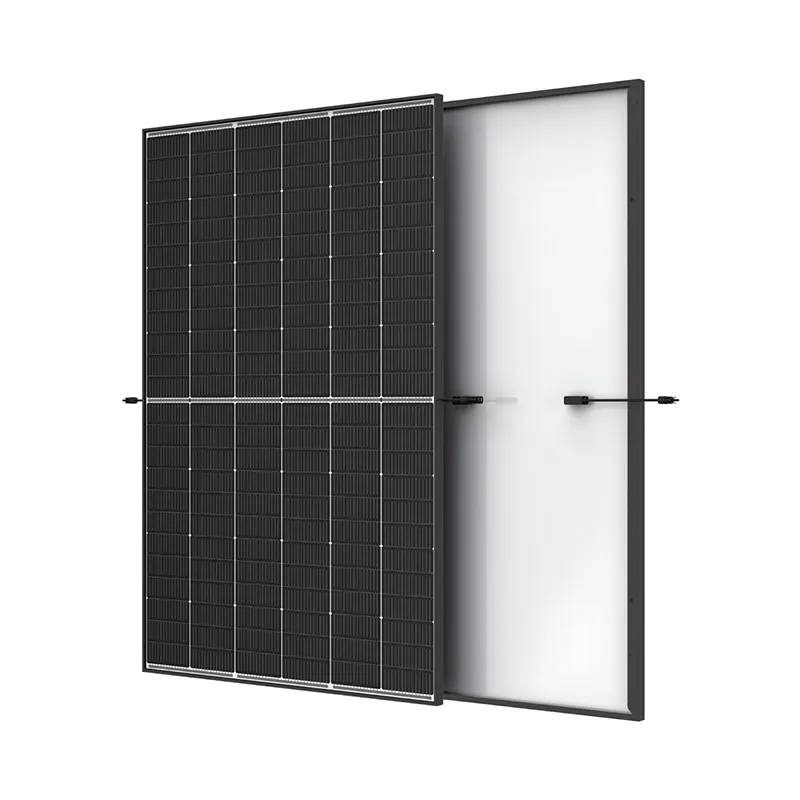
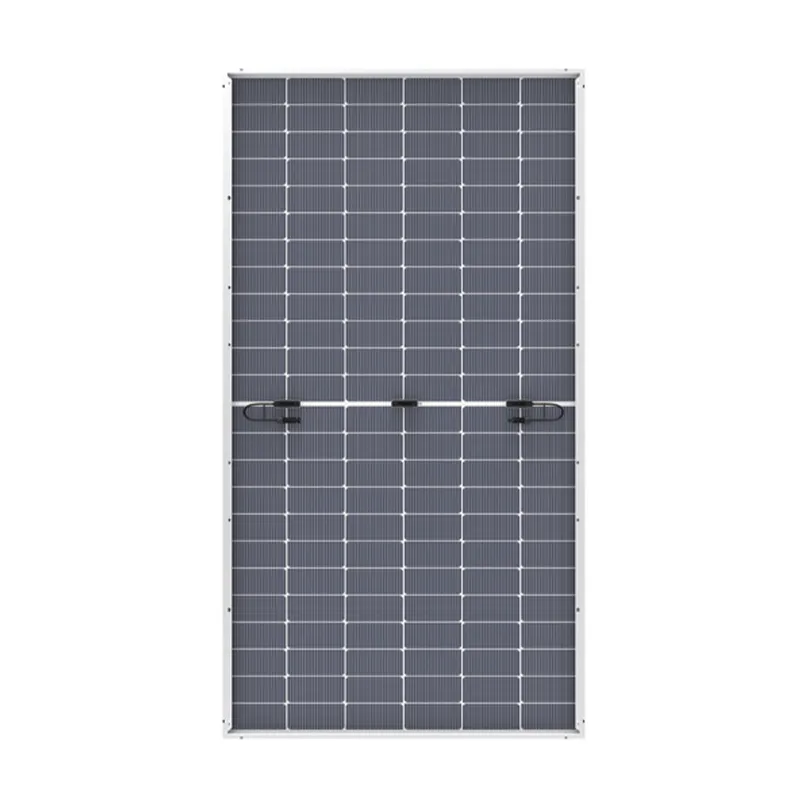
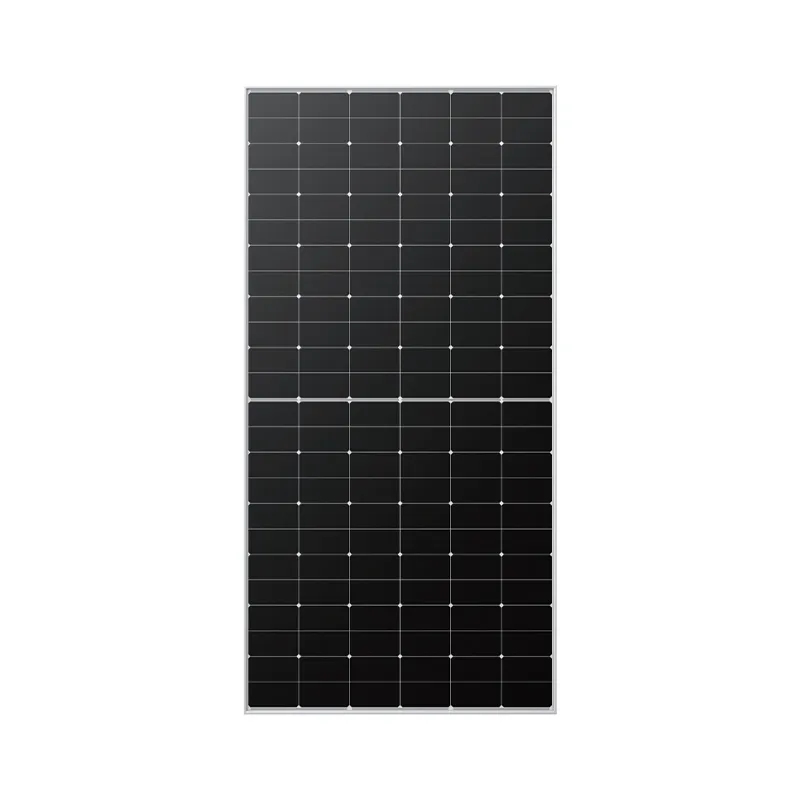
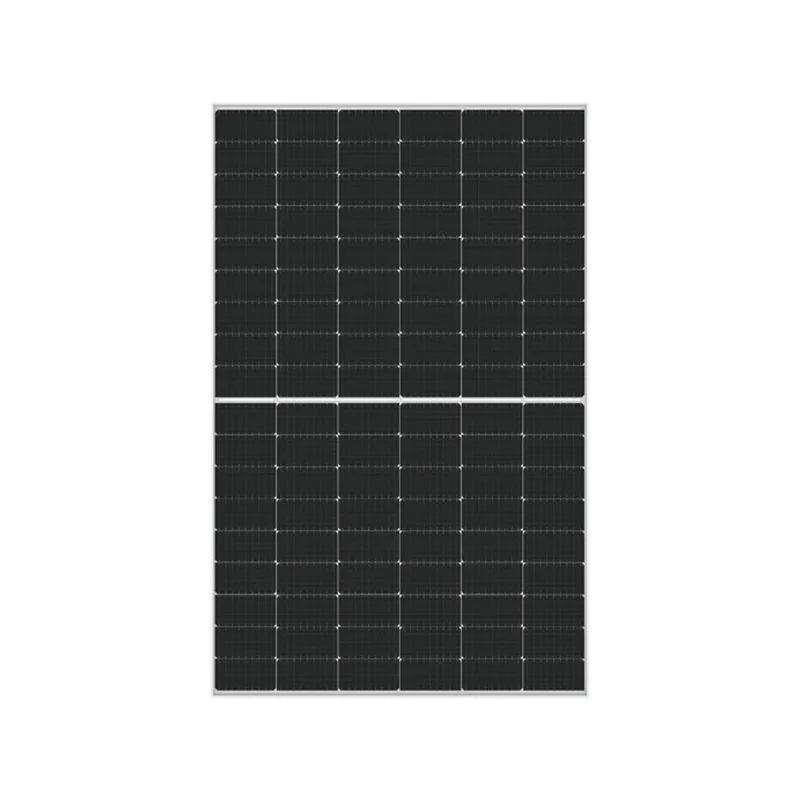
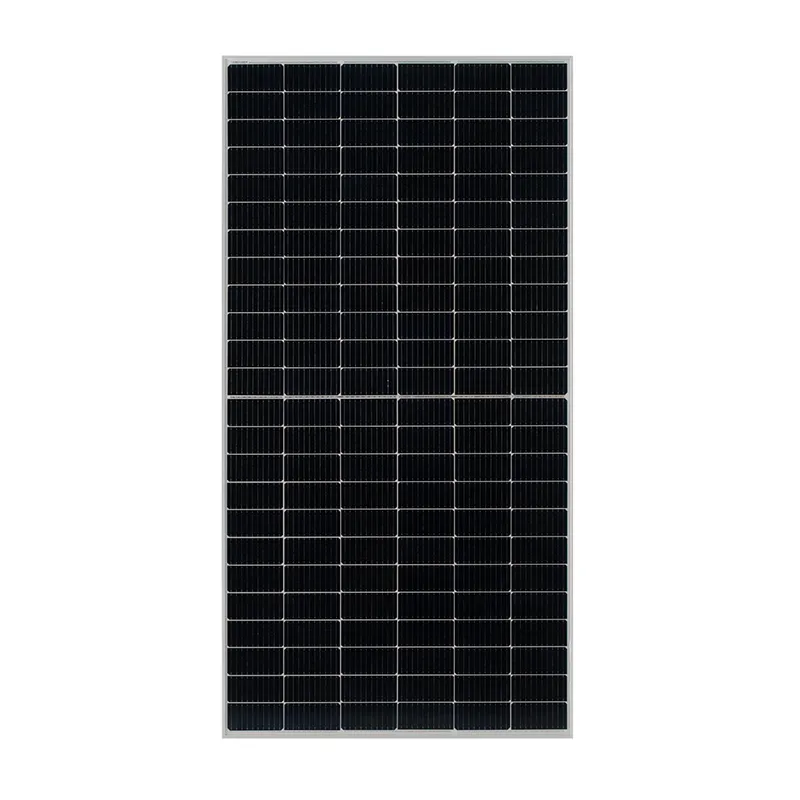
When selecting solar panels, consider their efficiency and wattage. Monocrystalline panels are more efficient, but they can be more expensive than polycrystalline panels. Depending on your budget and energy needs, select a type of solar panel that fits your requirements. Additionally, consider the warranty and lifespan of the panels; most panels last between 25 to 30 years.
4. Gather the Necessary Tools and Materials
Before starting the installation, gather all necessary tools and materials, which may include
- Solar panels - Mounting brackets - Railing system - Inverter (if you're converting energy for home use) - Wiring and connectors - Power tools (drill, screwdriver, etc.) - Safety gear (gloves, goggles, harness)
5. Install the Mounting Brackets
Begin the installation by securing the mounting brackets to your shed roof. Make sure they are spaced according to the specifications for the solar panels you’ve chosen. Ideally, the brackets should be attached to the rafters for enhanced stability. Use a level to ensure the brackets are aligned correctly before fastening them securely.
installing solar panels on shed roof
6. Attach the Solar Panels
Once the brackets are in place, it’s time to mount the solar panels. Lift the panels onto the roof and attach them to the brackets using screws. Ensure that the panels are secured tightly and are not obstructing any ventilation areas of the roof.
7. Wiring the System
After mounting the panels, the next step is to connect the wiring. The panels will have positive and negative terminals that need to be connected to the inverter. Follow the manufacturer’s guidelines to ensure correct wiring to maximize efficiency. If uncertain, consulting with or hiring a professional electrician is advisable.
8. Install an Inverter System
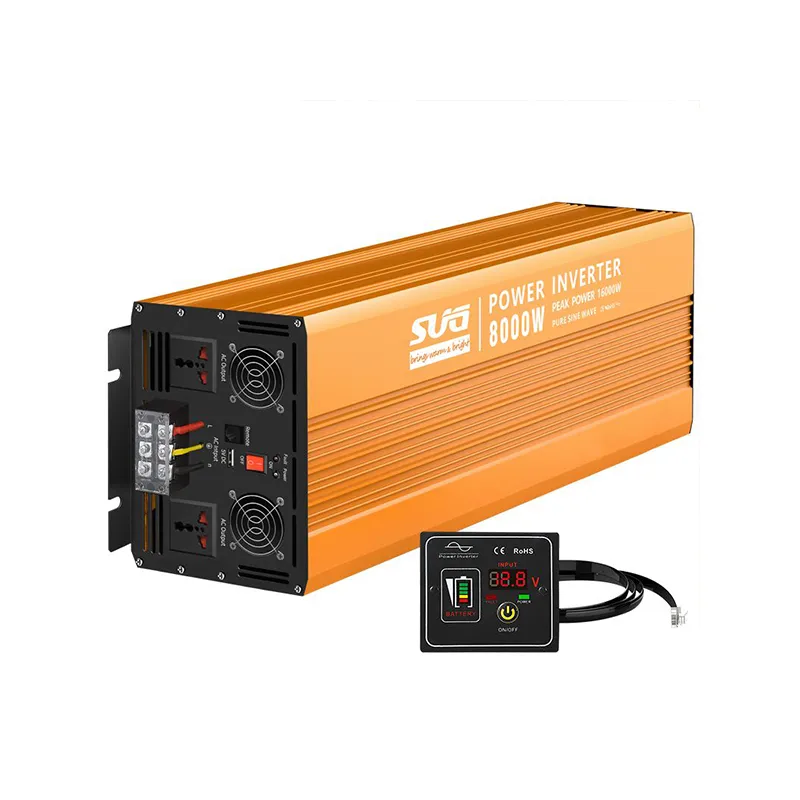
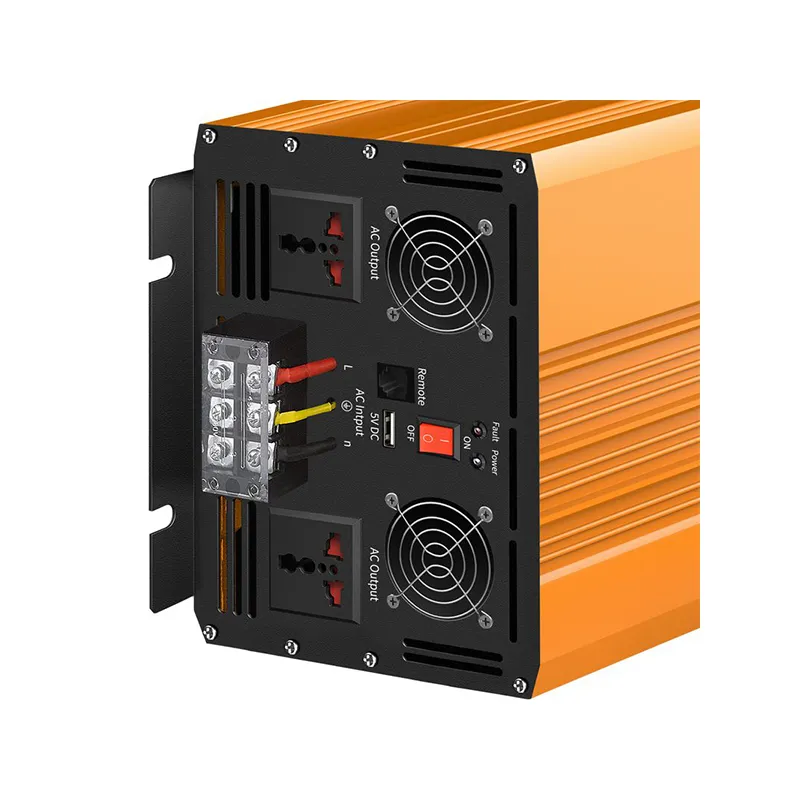
An inverter is vital for converting the direct current (DC) generated by the solar panels into alternating current (AC), which is suitable for household appliances. Choose an inverter that matches your system's capacity and follow the installation instructions carefully.
9. Connect to Power Supply
If your shed is connected to your home’s electricity, you can tie the system into your existing grid. This allows you to use solar power for the shed or feed excess energy back into the grid, potentially earning credits on your electricity bill.
10. Regular Maintenance
Once installed, maintain your solar panels by cleaning them regularly and checking for any obstructions or damages. Monitoring the system’s performance will also help identify any issues early on.
Conclusion
Installing solar panels on your shed roof is a rewarding project that can supply your space with energy efficiency while contributing to environmental sustainability. By following the steps outlined above, you can harness the power of the sun and enjoy the benefits of renewable energy right from your own backyard.
-
Unlocking Energy Freedom with the Off Grid Solar InverterNewsJun.06,2025
-
Unlock More Solar Power with a High-Efficiency Bifacial Solar PanelNewsJun.06,2025
-
Power Your Future with High-Efficiency Monocrystalline Solar PanelsNewsJun.06,2025
-
Next-Gen Solar Power Starts with Micro Solar InvertersNewsJun.06,2025
-
Harnessing Peak Efficiency with the On Grid Solar InverterNewsJun.06,2025
-
Discover Unmatched Efficiency with the Latest String Solar InverterNewsJun.06,2025
