installing solar panels yourself
Installing Solar Panels Yourself A Comprehensive Guide
The move towards renewable energy has been gaining momentum in recent years, with solar power leading the charge. Installing solar panels yourself can be a rewarding and cost-effective project, allowing you to harness the sun’s energy for your home. This guide will walk you through the essential steps to successfully install solar panels on your own.
1. Research and Planning
Before diving into the installation, it’s crucial to do your homework. Understand the local regulations and permits required for solar installations in your area. Many regions have specific rules concerning solar panel installations, and failing to comply could lead to fines or having to remove your panels. Additionally, evaluate your home's energy consumption and determine how many panels you will need. Online calculators can help estimate your energy requirements based on your utility bills.
2. Selecting the Right Equipment
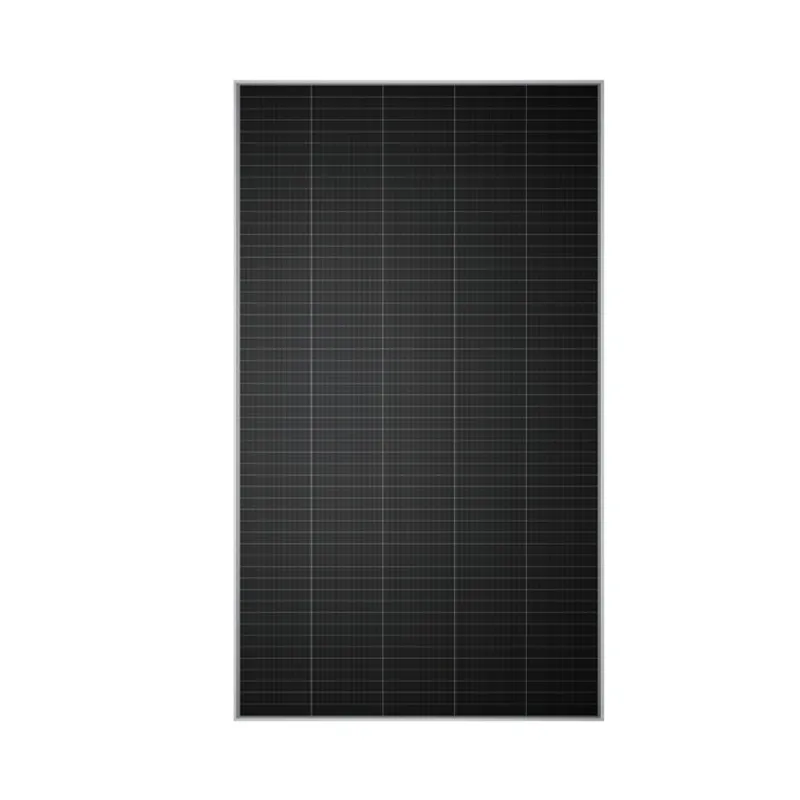
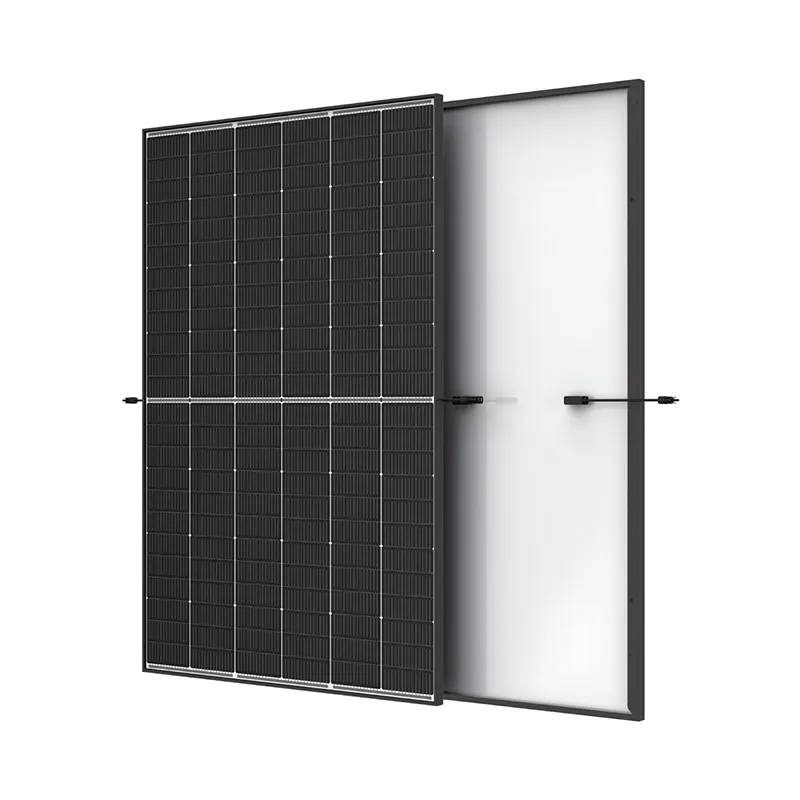
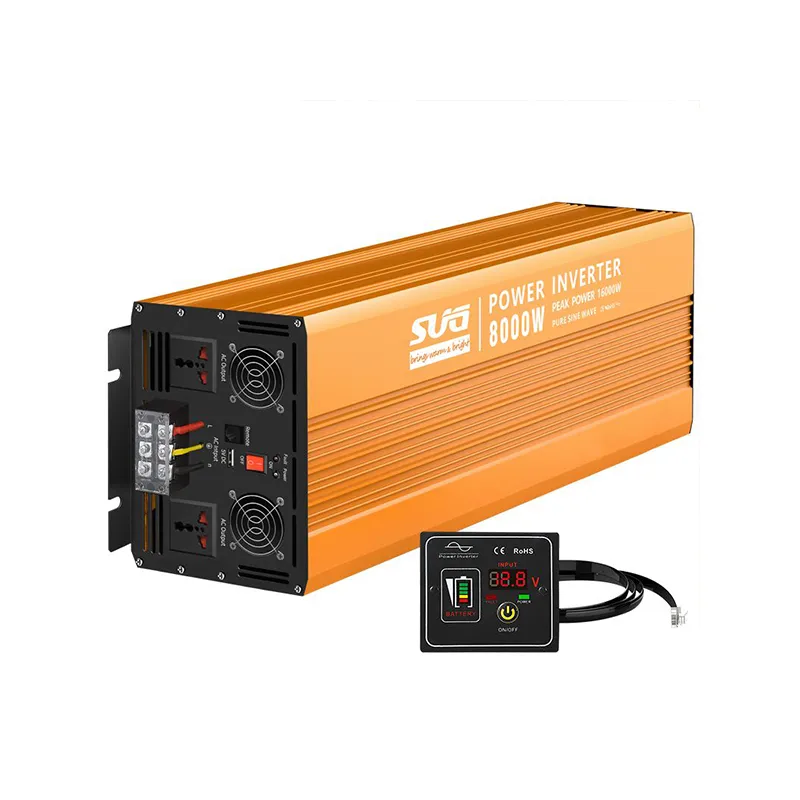
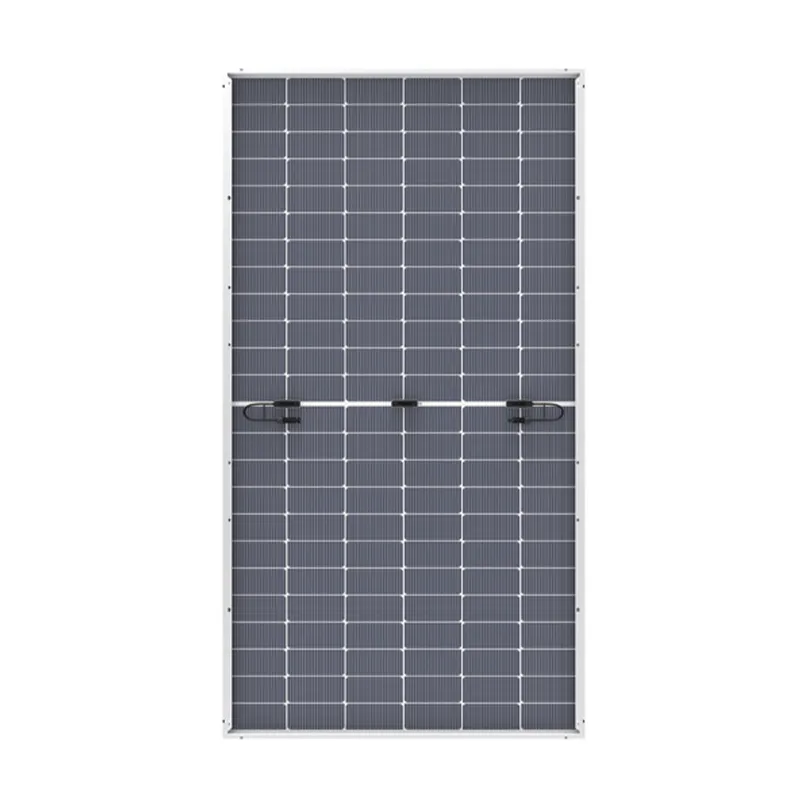
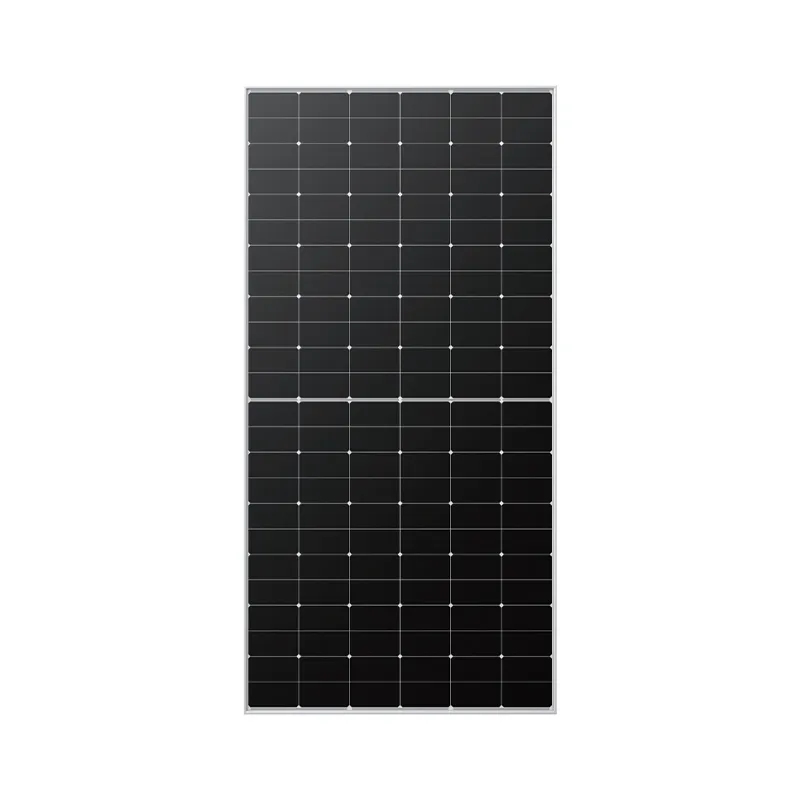
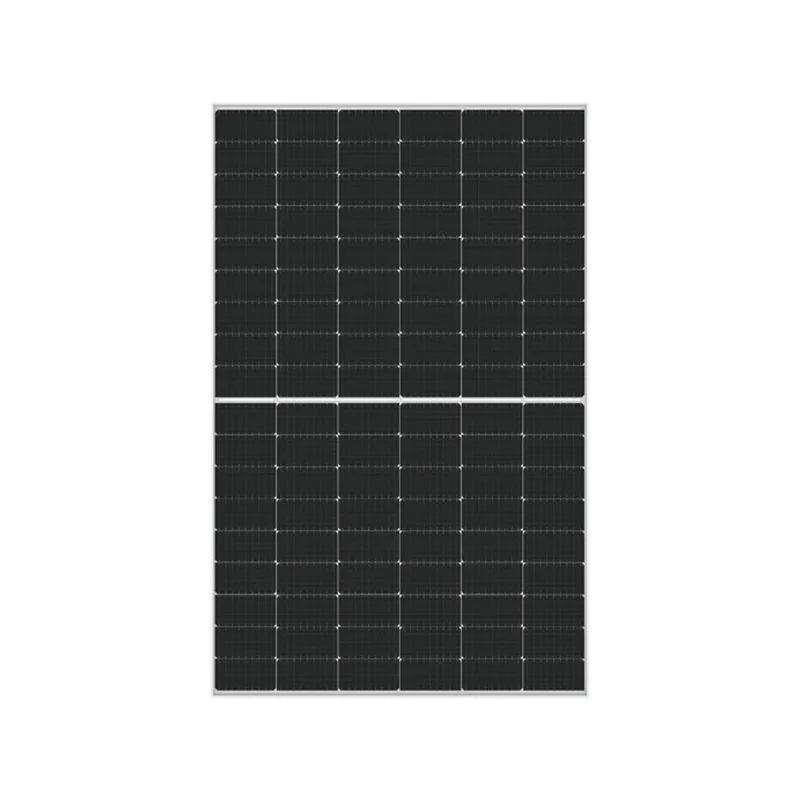
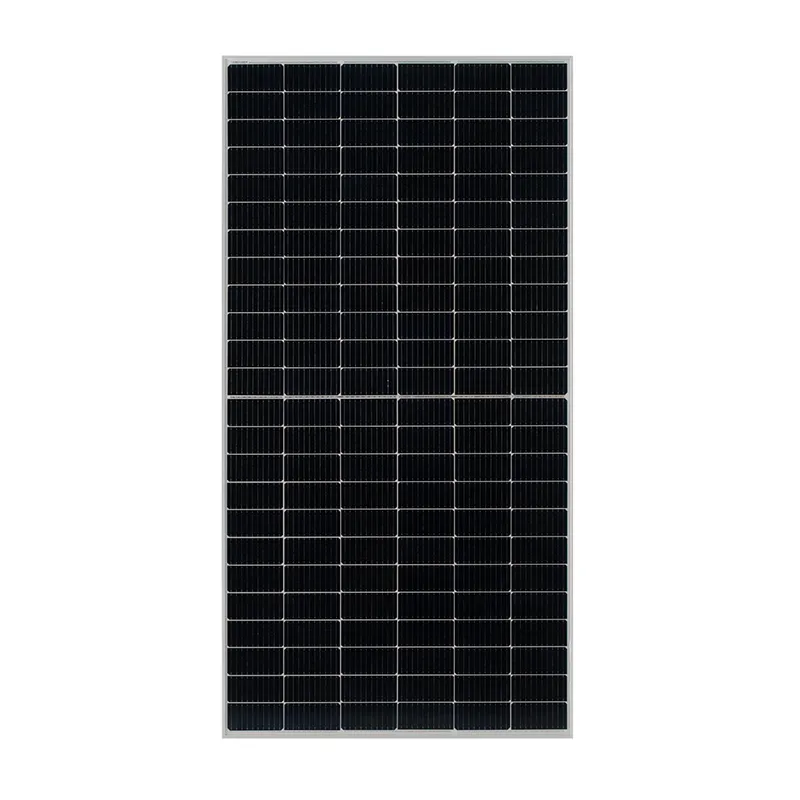
Choosing the right solar panels is essential for a successful installation. There are various types available, including monocrystalline, polycrystalline, and thin-film solar panels. Each has its advantages and disadvantages regarding efficiency, cost, and aesthetics. Don’t forget about inverters, which convert the solar energy generated into usable electricity. Consider purchasing a kit that includes all necessary components, which can simplify the process for beginners.
3. Gather Your Tools and Safety Gear
Installing solar panels requires specific tools, including a drill, socket wrench set, ladder, and safety harness. Safety should always be a priority. Ensure you have proper safety gear, such as gloves and goggles, to protect yourself from potential hazards. It’s also a good idea to have a helper to assist during installation, especially when handling heavy equipment.
4. Choose the Installation Site
installing solar panels yourself

The ideal placement for solar panels is on a roof that receives maximum sunlight exposure without obstructions such as trees or neighboring buildings. South-facing roofs are generally the best, but east- and west-facing roofs can also work efficiently. Ensure that the roof structure can support the weight of the panels and is in good condition. If your roof requires repairs, handle those before the installation process.
5. Install the Mounting System
After selecting the site, the next step is to install the mounting system. This involves affixing brackets that will hold the solar panels securely. Follow the manufacturer’s guidelines carefully, as proper installation is crucial for the longevity and performance of the solar panels. Make sure everything is level and secure before moving on to the next step.
6. Attach the Solar Panels
With the mounting system in place, it’s time to attach the solar panels. This process typically involves connecting panels to the brackets with bolts or clamps. Be meticulous and double-check all connections to ensure they are tight and secure.
7. Connect the Inverter and Wiring
Once the panels are in place, it’s time to connect the inverter and wiring, which can be the most technical part of the installation. Follow all electrical codes in your area, and don’t hesitate to consult a professional electrician if you have any doubts about your wiring skills.
Conclusion
Installing solar panels yourself can be a fulfilling project, offering both energy savings and a sense of accomplishment. By doing thorough research, planning carefully, and following safety protocols, you can contribute to a sustainable future while enjoying the benefits of renewable energy in your home. Remember, it’s always wise to seek advice from professionals if you encounter any challenges along the way.
-
Unlocking Energy Freedom with the Off Grid Solar InverterNewsJun.06,2025
-
Unlock More Solar Power with a High-Efficiency Bifacial Solar PanelNewsJun.06,2025
-
Power Your Future with High-Efficiency Monocrystalline Solar PanelsNewsJun.06,2025
-
Next-Gen Solar Power Starts with Micro Solar InvertersNewsJun.06,2025
-
Harnessing Peak Efficiency with the On Grid Solar InverterNewsJun.06,2025
-
Discover Unmatched Efficiency with the Latest String Solar InverterNewsJun.06,2025
