installing solar panels yourself
Installing Solar Panels Yourself A Step-by-Step Guide
As the world shifts towards more sustainable energy sources, homeowners are increasingly considering the installation of solar panels to harness renewable energy. While hiring professionals can ease the process, installing solar panels yourself can significantly reduce costs and provide a rewarding sense of accomplishment. If you're handy, willing to learn, and prepared to navigate a few challenges, this guide will help you install solar panels on your own.
Understanding the Benefits
Before diving into the installation process, it's essential to appreciate the benefits of solar energy. Solar panels can reduce your electric bill, increase your home’s value, and contribute to environmental sustainability. By generating your own electricity, you become less reliant on the grid, which can be particularly beneficial during power outages or price surges.
Step 1 Research and Planning
The first step in your solar panel installation journey is thorough research. Start by determining if your location receives enough sunlight for solar energy to be feasible. Use online solar calculators or consult with local solar energy companies for a preliminary analysis.
Next, check for any local zoning laws or homeowners association guidelines that may impact your installation. Some areas have restrictions on the size and placement of solar panels, so it's best to understand these regulations before proceeding.
Step 2 Calculate Your Energy Needs
Before purchasing solar panels, calculate your household's energy consumption. Look at your electricity bills to determine your average monthly usage in kilowatt-hours (kWh). This will help you determine how many panels you'll need to install to meet your energy goals.
Step 3 Design Your System
Once you have an understanding of your energy needs, create a design for your solar panel system. Decide where to place the solar panels—typically on the roof of your home, if it has a suitable angle and orientation. Take note of any obstructions such as trees or neighboring buildings that might cast shadows on your panels.
Also, consider whether you want a grid-tied system (which connects to the utility grid), an off-grid system (which functions independently), or a hybrid system that can switch between the two. Each option has its own advantages, depending on your needs and goals.
Step 4 Gather Materials and Tools
installing solar panels yourself
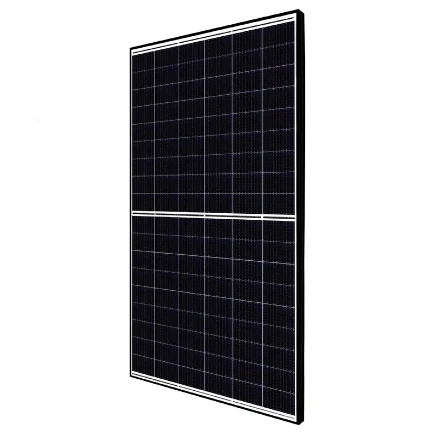
Now that you have a comprehensive plan, it’s time to gather the necessary materials. You will need
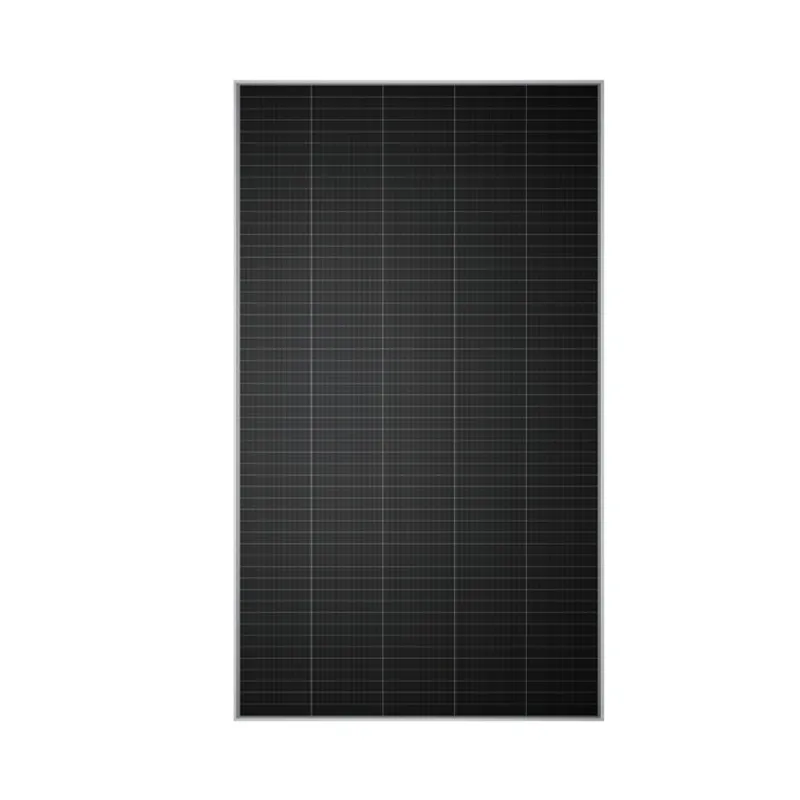
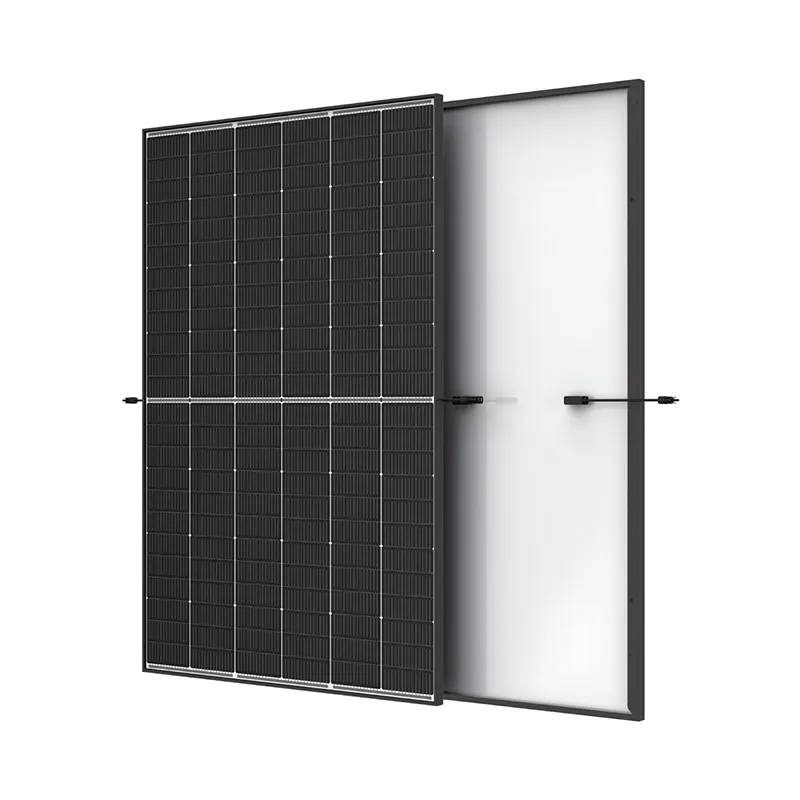
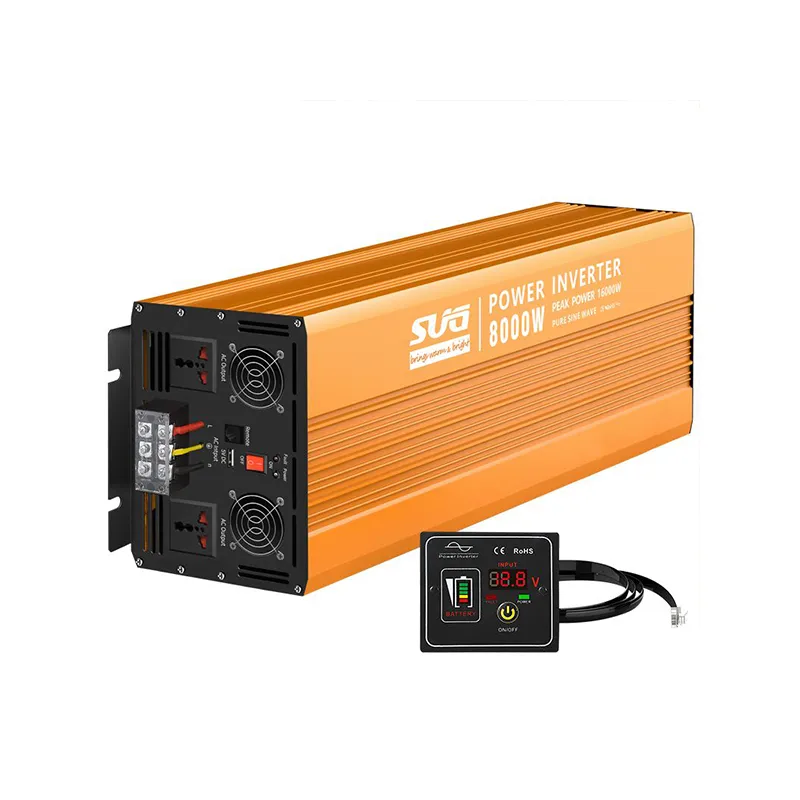
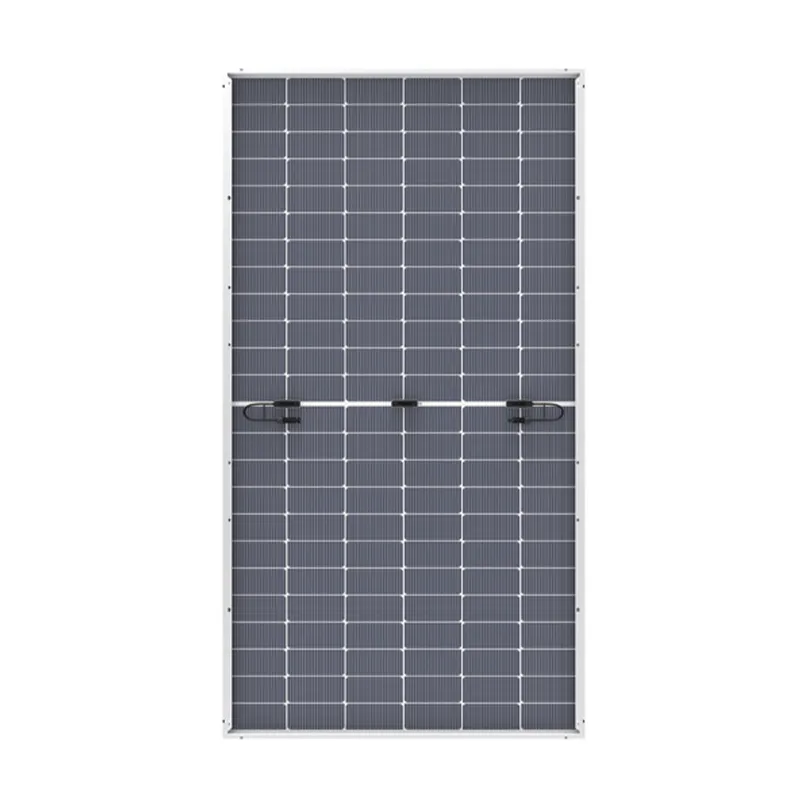
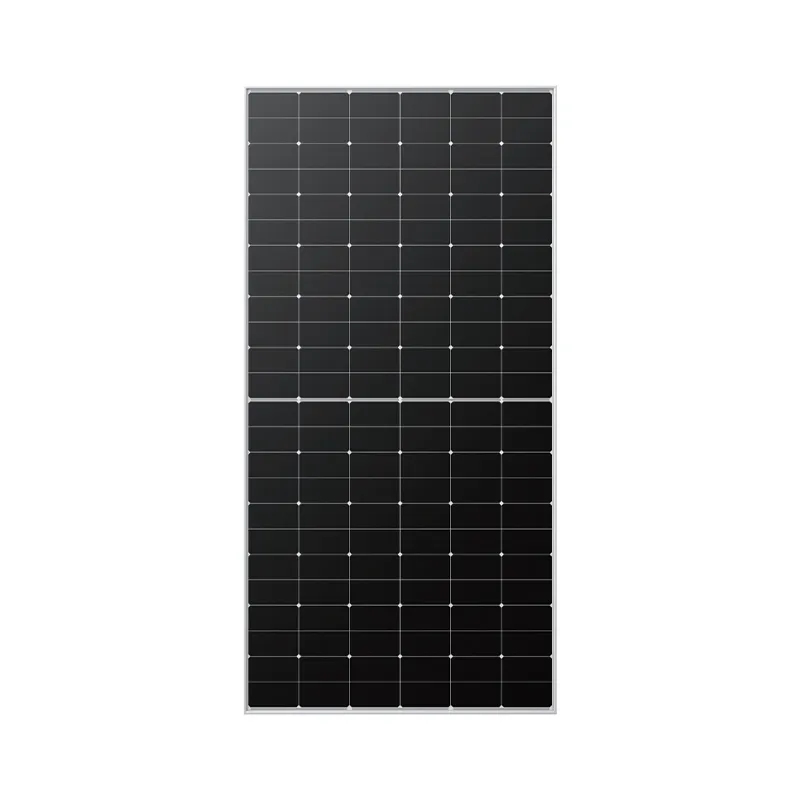
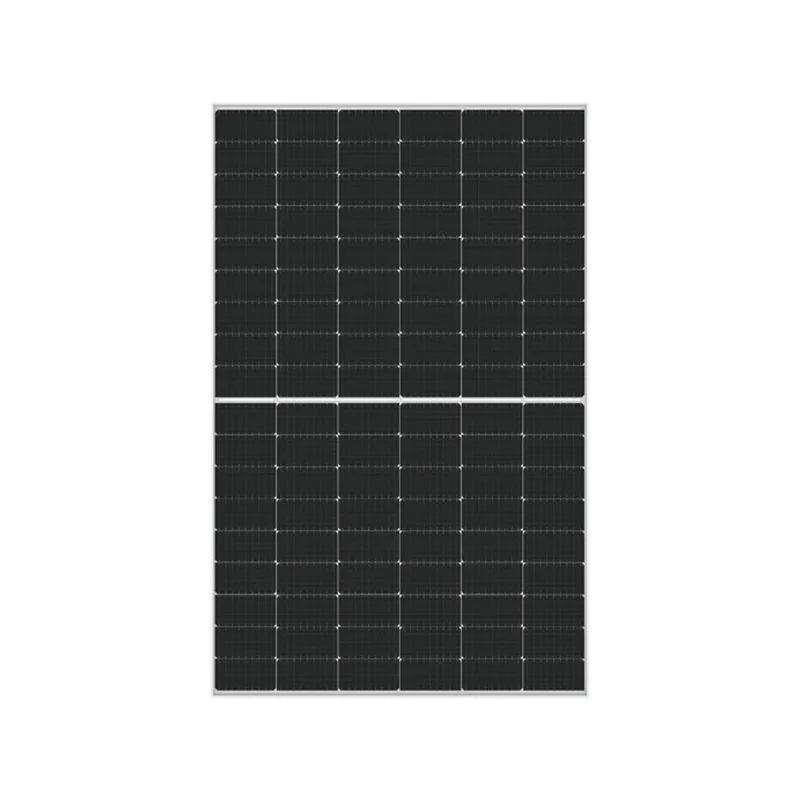
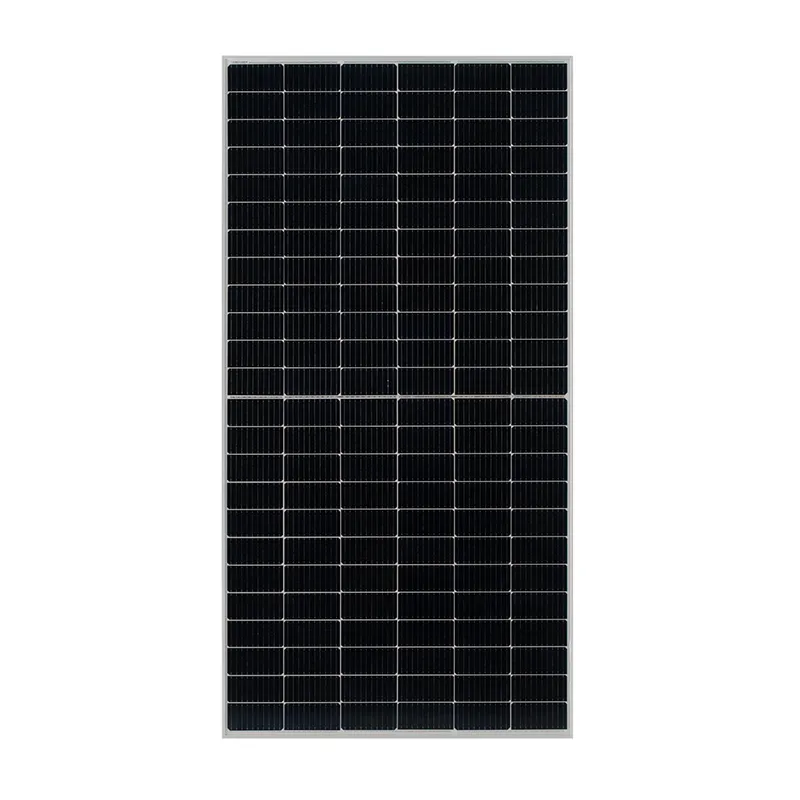
- Solar panels - Inverter (to convert solar DC power to AC power) - Mounting hardware - Wiring and conduit - Battery storage (if using an off-grid system) - Tools such as a drill, ladder, level, and safety equipment
You can purchase these materials from solar suppliers or home improvement stores. Make sure to buy high-quality components to ensure the longevity and efficiency of your system.
Step 5 Installation Process
1. Mounting the Panels Start by installing the mounting brackets on your roof. Ensure they are securely fastened and are positioned at the right angle for optimal sunlight exposure. Next, carefully attach the solar panels to the mounting brackets.
2. Wiring the Panels Connect the panels by wiring them together. Follow the manufacturer's instructions for wiring configurations, ensuring you maintain proper polarity to avoid shorts in the system.
3. Installing the Inverter The inverter should be mounted in a shaded area, away from the heat of direct sunlight. Connect the solar panels to the inverter according to its specifications, ensuring it's also wired to the electrical panel or battery storage, depending on your system type.
4. Final Connections For grid-tied systems, connect the inverter to your home’s electrical panel. This step may require a permit or inspection by your local utility company. Make sure to follow all safety protocols to prevent electrical hazards.
Step 6 Testing and Monitoring
After your installation is complete, it's time to test the system. Turn on the inverter and monitor the output using any built-in display or app. Ensure that the system is working efficiently and producing the expected amount of power.
Conclusion
Installing solar panels yourself can be a fulfilling project that not only reduces energy costs but also contributes to a greener planet. While the process may seem daunting, following these steps and taking the necessary precautions can lead to a successful installation. Remember that safety is paramount, so don’t hesitate to seek help or consult professionals if needed. By harnessing the power of the sun, you can take control of your energy needs and contribute to a sustainable future.
-
Unlocking Energy Freedom with the Off Grid Solar InverterNewsJun.06,2025
-
Unlock More Solar Power with a High-Efficiency Bifacial Solar PanelNewsJun.06,2025
-
Power Your Future with High-Efficiency Monocrystalline Solar PanelsNewsJun.06,2025
-
Next-Gen Solar Power Starts with Micro Solar InvertersNewsJun.06,2025
-
Harnessing Peak Efficiency with the On Grid Solar InverterNewsJun.06,2025
-
Discover Unmatched Efficiency with the Latest String Solar InverterNewsJun.06,2025
