installing solar panels yourself
Installing Solar Panels Yourself A Comprehensive Guide
As the world increasingly turns to renewable energy sources, many homeowners are exploring the idea of installing solar panels on their own. Not only can this decision reduce your carbon footprint, but it can also save you a significant amount of money in energy bills. In this article, we’ll delve into the process of installing solar panels yourself, discussing the benefits, materials needed, and step-by-step instructions to help you navigate through your DIY solar project.
Benefits of Installing Solar Panels Yourself
1. Cost Savings One of the primary advantages of installing solar panels yourself is the substantial reduction in costs. Professional installation can be expensive, often adding thousands of dollars to your total expenses. By opting for a DIY approach, you can allocate that money towards purchasing high-quality panels and equipment.
2. Learning Experience Another perk of tackling this project yourself is the invaluable knowledge you will gain. Understanding how solar energy works, the technology involved, and maintenance requirements not only empowers you but also enhances your ability to troubleshoot issues in the future.
3. Personal Satisfaction Successfully installing solar panels gives a sense of accomplishment. Knowing that you took the initiative to harness renewable energy and contribute to environmental sustainability is incredibly rewarding.
4. Customization DIY installation allows you to tailor the solar power system to your specific needs and preferences, ensuring that you get the most out of your investment.
Materials and Tools Needed
Before embarking on your solar panel installation journey, gather the following materials and tools
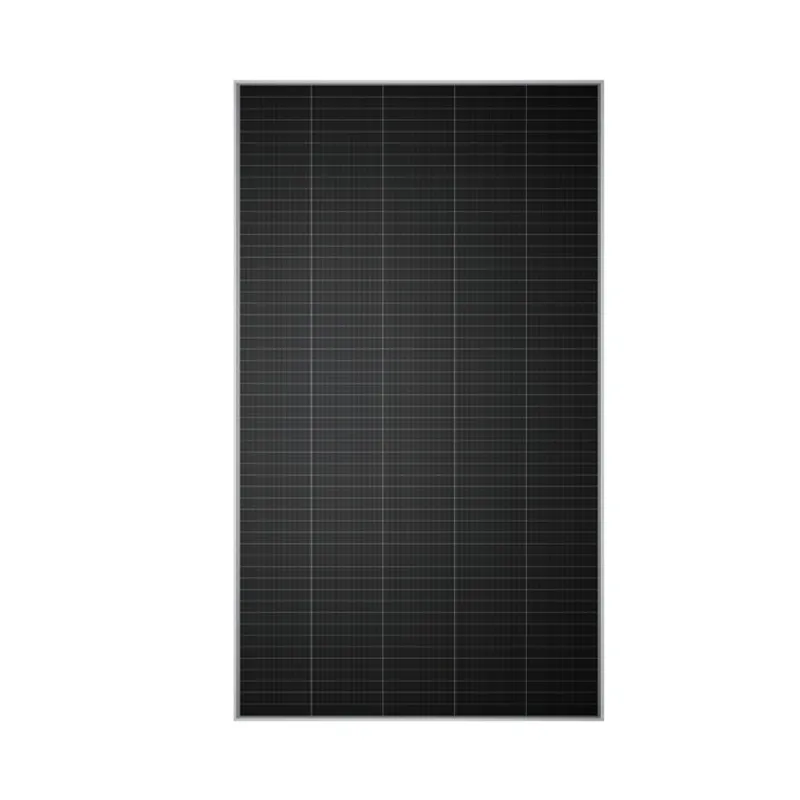
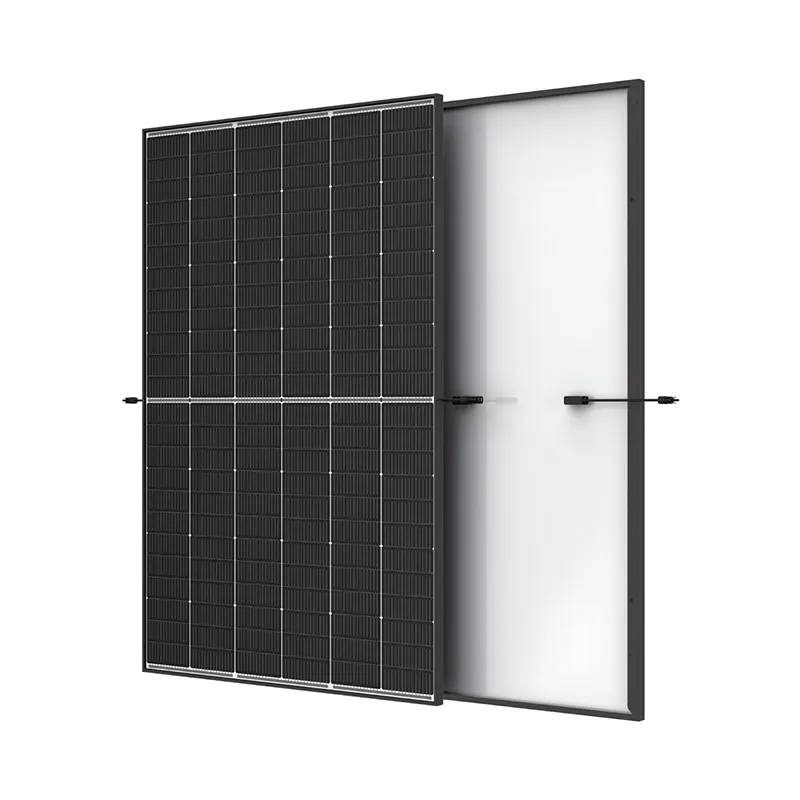
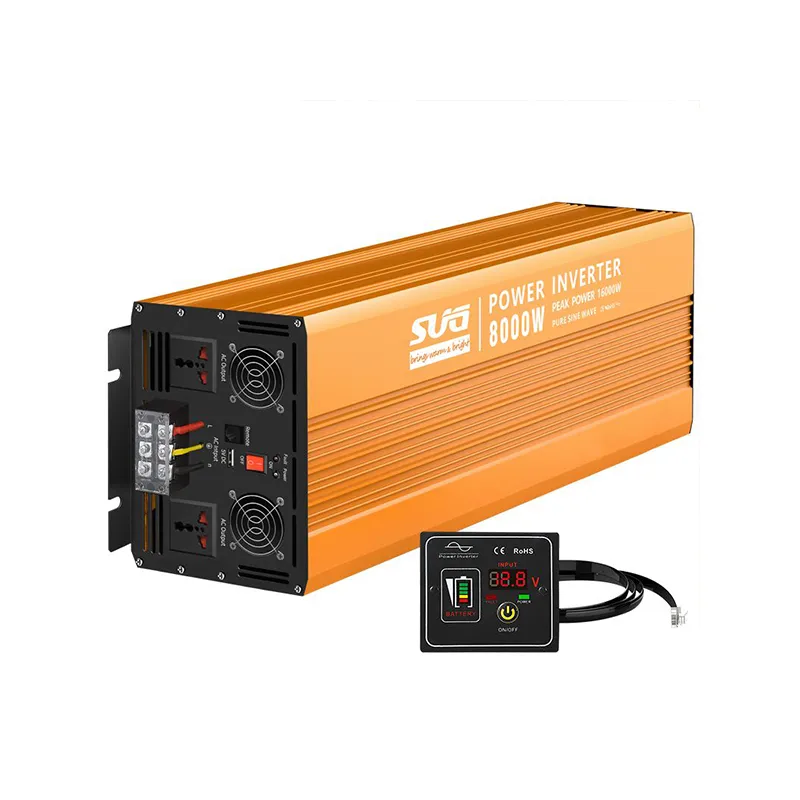
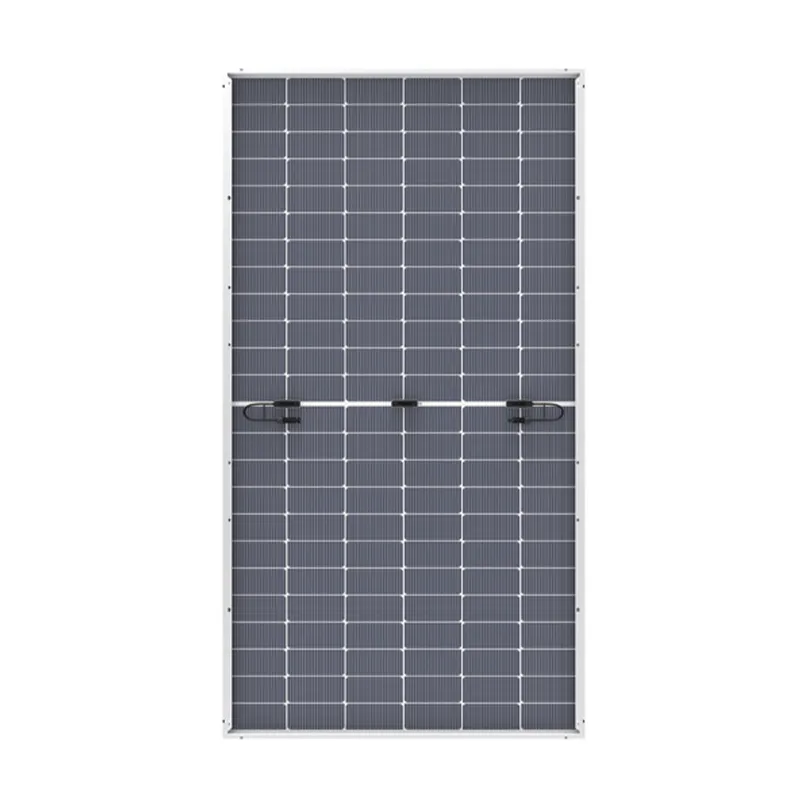
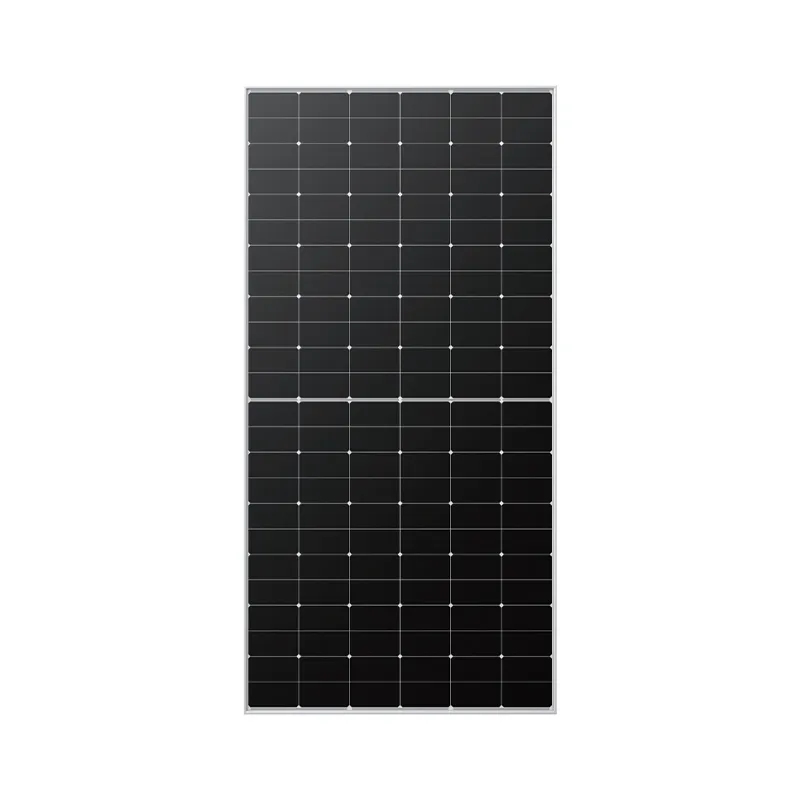
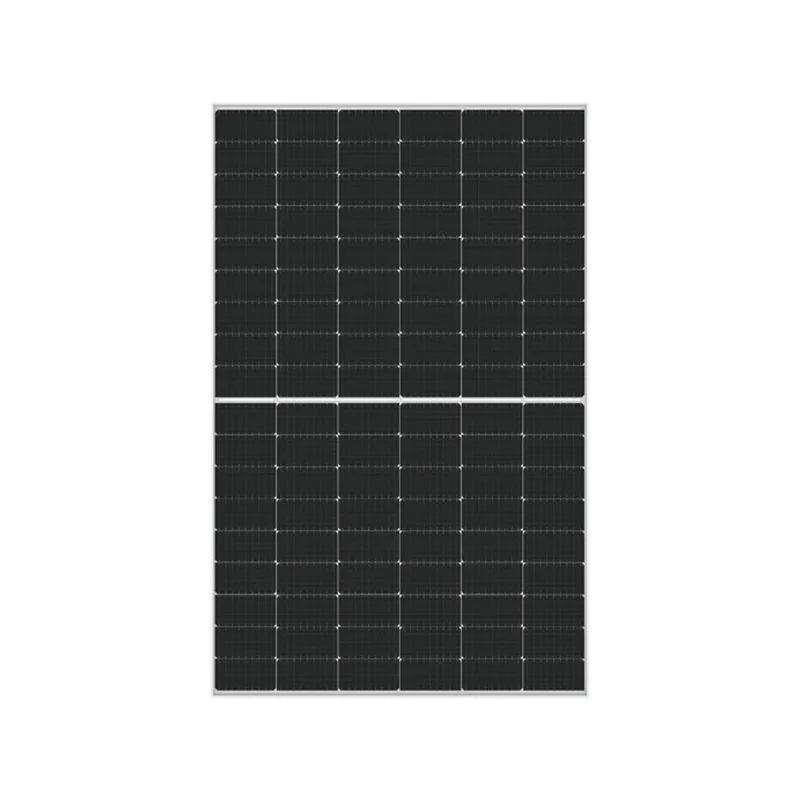
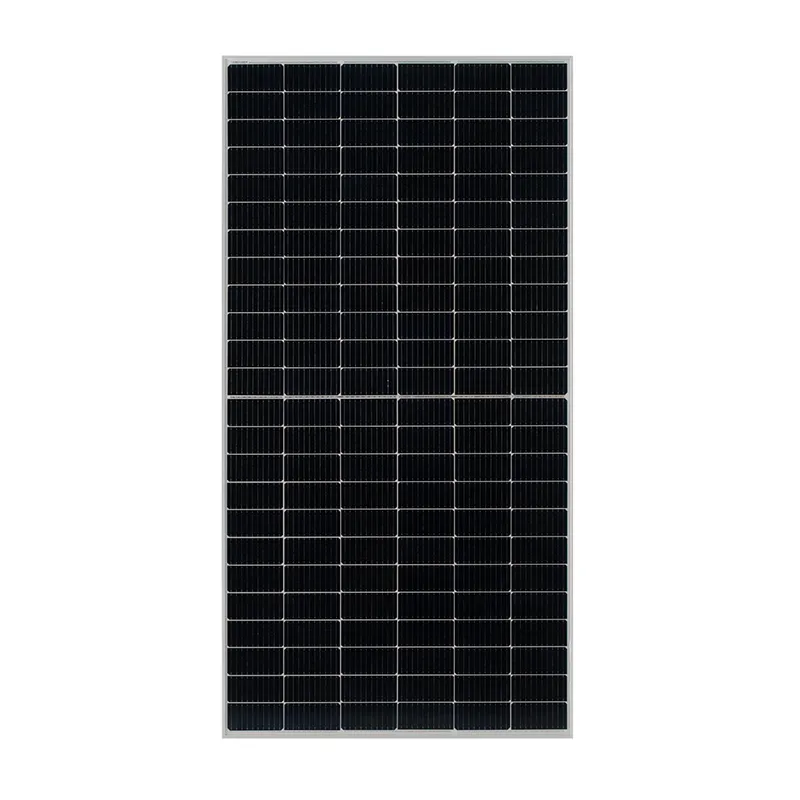
- Solar Panels Choose high-efficiency panels that fit your energy needs. - Inverter This device converts DC power generated by the solar panels into AC power for household use. - Mounting Brackets Ensure you have proper brackets to mount your panels securely. - Wiring and Junction Boxes Essential for connecting the panels to the inverter and the home’s electrical system. - Tools Basic tools such as a drill, screwdriver, wire stripper, multimeter, and a level will be necessary for the installation.
Step-by-Step Installation Process
installing solar panels yourself
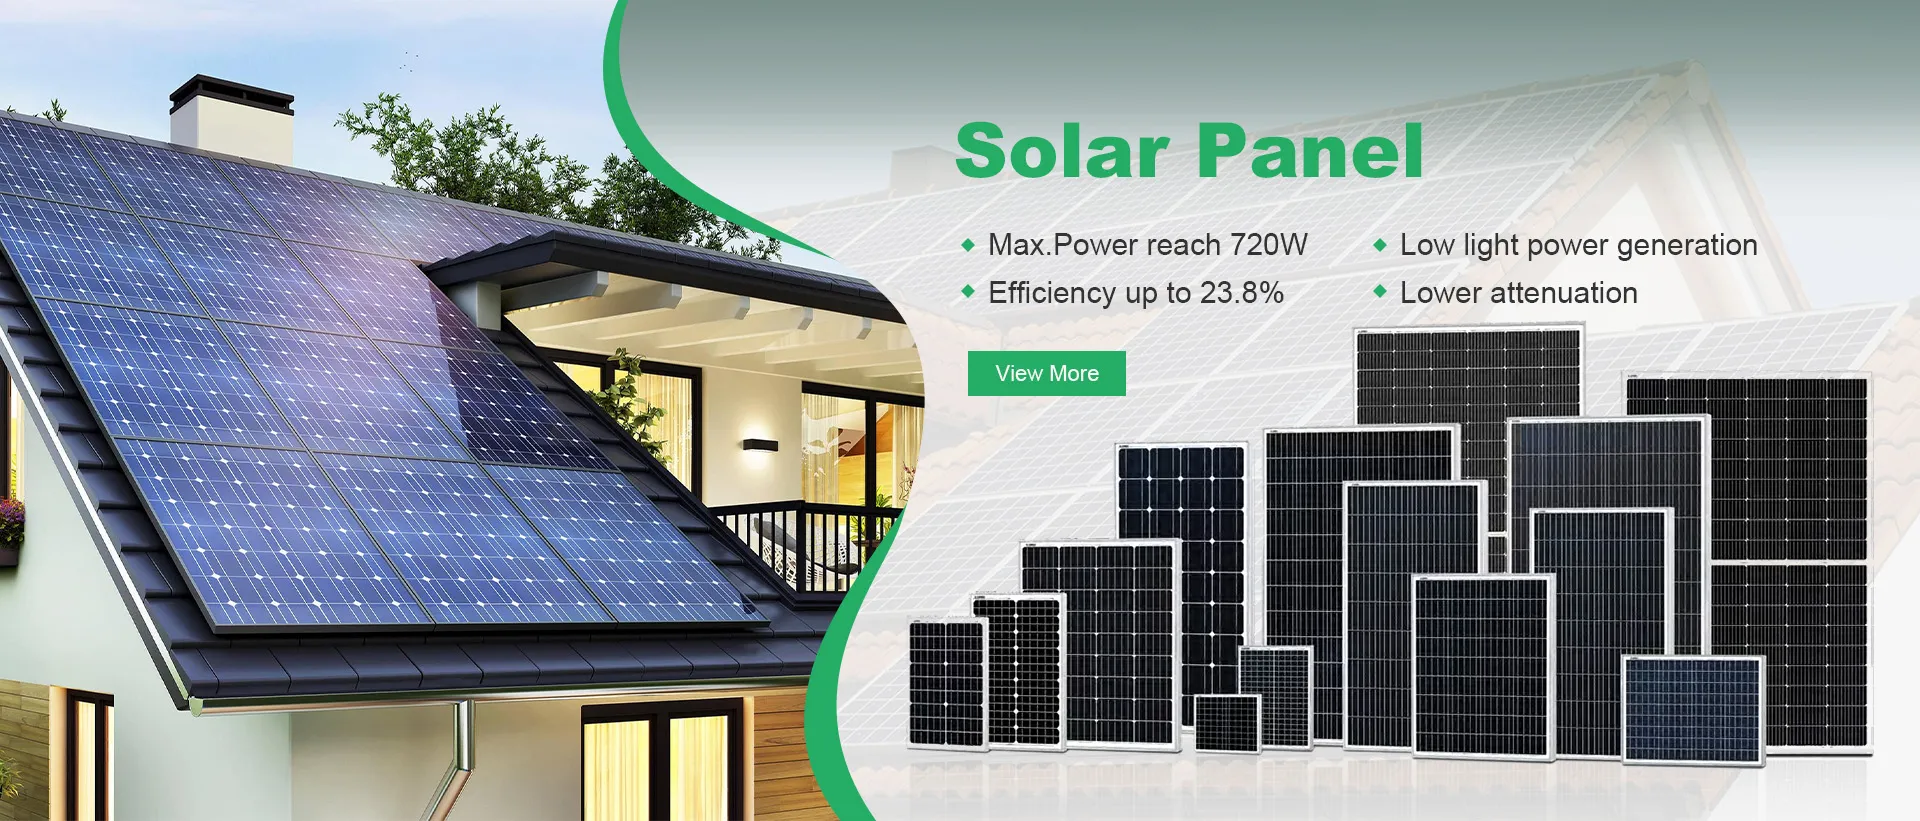
1. Assess Your Roof Before purchasing solar panels, evaluate your roof’s condition and orientation. Ideally, your roof should face south and have minimal shading throughout the day. Make any necessary repairs before proceeding.
2. Research Local Regulations Check building codes and regulations in your area. You might need to obtain permits or follow specific guidelines for solar panel installation. Additionally, consider utility requirements for grid-tied systems.
3. Design Your System Calculate your energy needs using your utility bills and estimate the number of solar panels required. Plan the layout of the solar array on your roof, ensuring proper spacing and orientation.
4. Install Mounting Brackets Attach the mounting brackets to your roof using lag screws. Ensure they are securely fixed and placed according to your planned layout.
5. Connect the Solar Panels Carefully lift the solar panels onto the mounting brackets, securing them in place. Ensure all connections are tight and weatherproof.
6. Set Up the Inverter Install the inverter near the main electrical panel. Connect the solar panels to the inverter according to the manufacturer’s instructions.
7. Electrical Connections Connect the inverter to your home’s electrical system, following all safety protocols. This step might require assistance from a licensed electrician, especially if you’re connecting to the grid.
8. Test the System Once everything is connected, turn on the system and test its functionality. Monitor the output to ensure your system is operating efficiently.
9. Monitor and Maintain Regularly check the panels for dirt and debris, as well as keeping an eye on energy production through the inverter’s monitoring system.
Conclusion
While installing solar panels yourself requires time and effort, the satisfaction and savings you gain can make it a worthwhile investment. By following the steps outlined in this guide, you can successfully set up your solar power system and contribute to a greener future. Remember, it’s always wise to consult with professionals when necessary and adhere to all safety guidelines during the installation process. Happy solar powering!
-
String Solar Inverter: The High-Efficiency Solution for Smart Solar EnergyNewsJul.14,2025
-
Revolutionizing Rooftop Energy with the Power of the Micro Solar InverterNewsJul.14,2025
-
Power Independence with Smart Off Grid Solar Inverter SolutionsNewsJul.14,2025
-
On Grid Solar Inverter: Powering the Future with Smart Grid IntegrationNewsJul.14,2025
-
Monocrystalline Solar Panels: High-Efficiency Power for the Future of Clean EnergyNewsJul.14,2025
-
Bifacial Solar Panel: A Smarter Investment for Next-Generation Energy SystemsNewsJul.14,2025
