installing solar panels yourself
Installing Solar Panels Yourself A Step-by-Step Guide
As the world moves towards more sustainable energy solutions, solar panels have emerged as a popular option for homeowners looking to reduce energy bills and their carbon footprint. While hiring a professional to install solar panels can be costly, many individuals are discovering the rewards of a DIY approach. If you're interested in installing solar panels yourself, this guide will walk you through the essential steps for a successful installation.
Step 1 Do Your Research
Before you begin the installation process, it's crucial to research solar energy and understand the specific systems available. Different solar panel types (monocrystalline, polycrystalline, and thin-film) vary in efficiency and cost. Additionally, familiarize yourself with local regulations and incentives. Many states offer tax credits, rebates, or other financial incentives for solar installations, which can significantly offset costs.
Step 2 Assess Your Energy Needs
To effectively determine how many solar panels you need, start by reviewing your electricity bills to understand your energy consumption. This data will help you calculate the size of the solar panel system required to meet your needs. A basic formula is to divide your average monthly usage (in kilowatt-hours) by the monthly sunshine hours specific to your area.
Step 3 Evaluate Your Roof
Next, evaluate your roof to ensure it's suitable for solar panels. Solar panels require direct sunlight, so the orientation and angle of your roof are crucial. Ideally, roofs that face south (in the Northern Hemisphere) receive the most sunlight. Additionally, ensure your roof is sturdy enough to support the panels and free of obstructions, such as chimneys or tree branches that could cast shadows.
Step 4 Purchase the Right Equipment
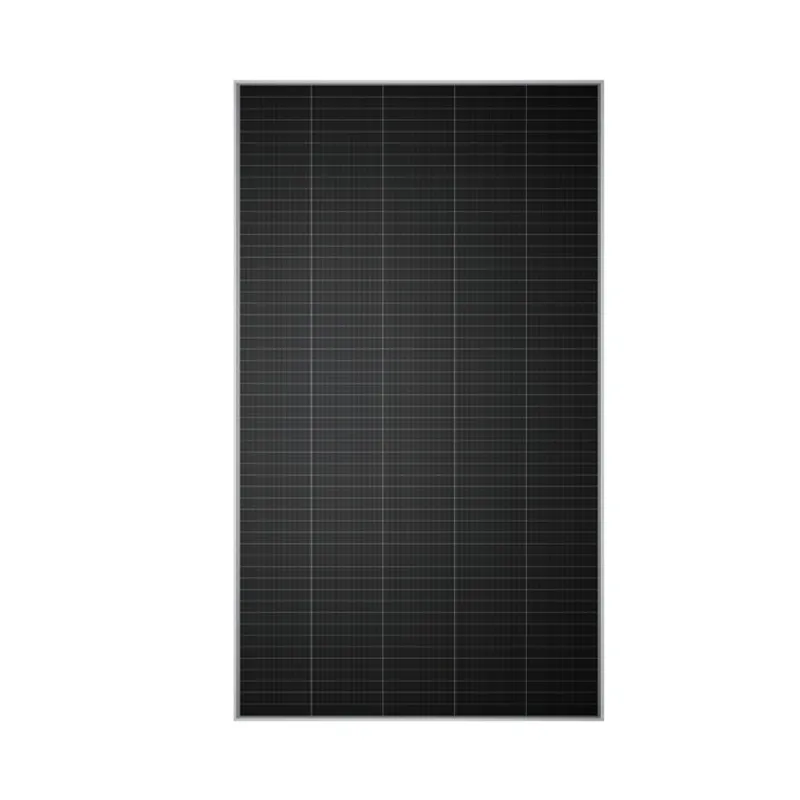
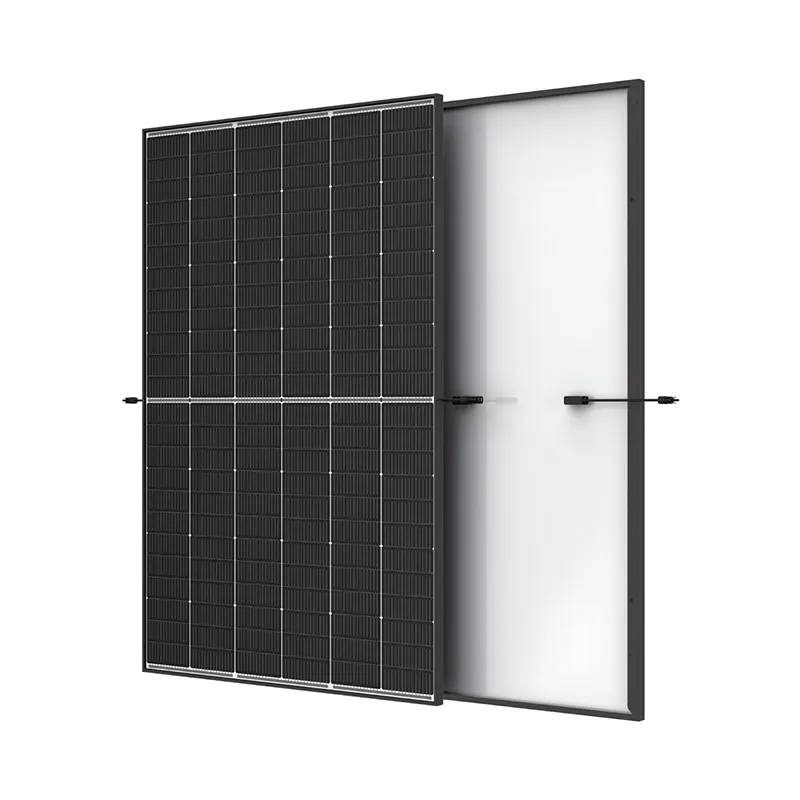
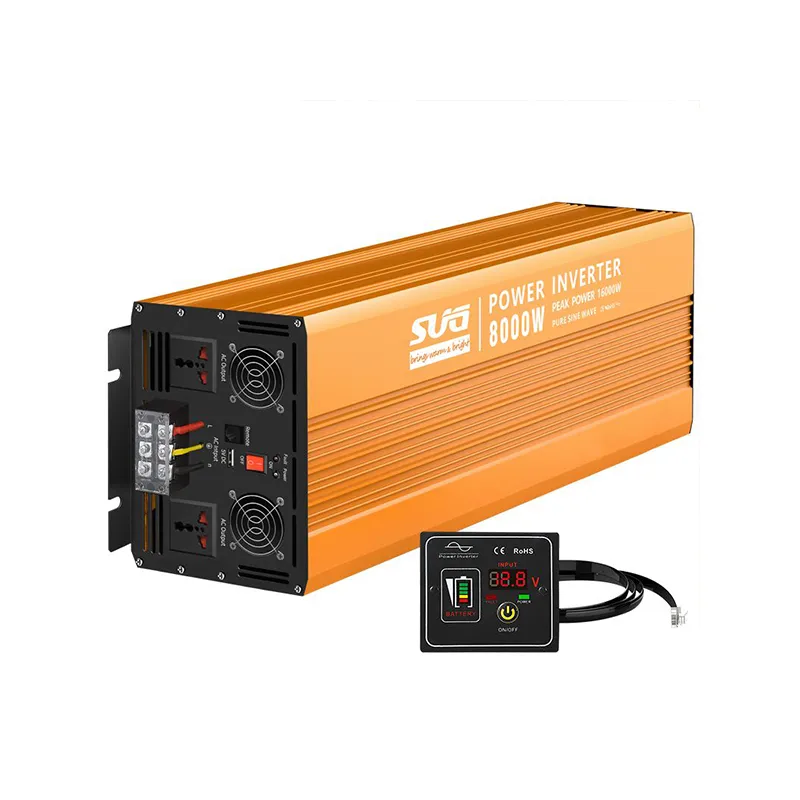
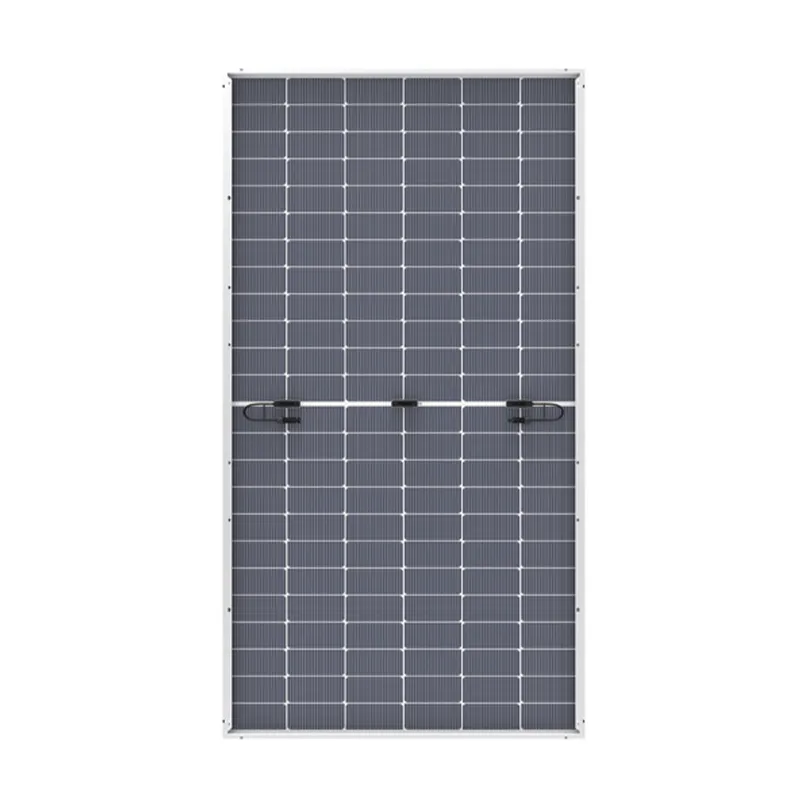
Once you've assessed your energy needs and roof suitability, it's time to purchase your equipment. You'll need solar panels, an inverter (to convert the generated DC electricity into usable AC electricity), mounting hardware, and wiring. Research different brands and read reviews to find reliable products. Buying in bulk can often reduce costs, so consider purchasing all necessary components from a single supplier.
Step 5 Gather Tools and Prepare Safety Measures
installing solar panels yourself
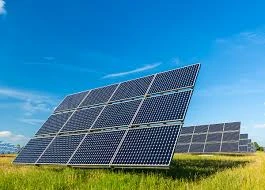
Gather all the necessary tools before starting the installation, including a drill, screwdriver, level, and safety gear (such as gloves and goggles). Safety is paramount when working on rooftops, so ensure you have a sturdy ladder and consider using a harness if necessary. Also, be sure to check the weather forecast; clear, dry days are the best for installation.
Step 6 Installation Process
1. Mounting the Panels Begin by installing the mounting brackets on the roof, following the manufacturer's instructions. Ensure they are securely attached to the rafters for stability.
2. Installing Solar Panels Once the brackets are in place, carefully attach the solar panels. Start from one side and work your way across, ensuring that each panel is level and firmly attached.
3. Connecting the Wiring After the panels are secured, connect the wiring from the panels to the inverter. This step varies depending on the system you choose, so refer to the specific instructions provided by the manufacturer.
4. Inverter Installation Lastly, install the inverter in a shaded, ventilated area close to your electrical panel. Connect the inverter to your home's power supply and ensure that all connections are secure.
Step 7 Final Inspection and Monitoring
Once your solar panels are installed, check all the connections and components before turning on the system. It's also a good idea to monitor the system's performance regularly to ensure everything is functioning correctly.
Conclusion
Installing solar panels yourself can be a rewarding project that not only saves you significant costs but also enhances your understanding of renewable energy. While this DIY project requires careful planning and execution, the long-term benefits of using solar power make it well worth the effort. Enjoy the satisfaction of harnessing the sun's energy for your home and contributing to a more sustainable future.
-
Unlocking Energy Freedom with the Off Grid Solar InverterNewsJun.06,2025
-
Unlock More Solar Power with a High-Efficiency Bifacial Solar PanelNewsJun.06,2025
-
Power Your Future with High-Efficiency Monocrystalline Solar PanelsNewsJun.06,2025
-
Next-Gen Solar Power Starts with Micro Solar InvertersNewsJun.06,2025
-
Harnessing Peak Efficiency with the On Grid Solar InverterNewsJun.06,2025
-
Discover Unmatched Efficiency with the Latest String Solar InverterNewsJun.06,2025
