solar panels how to build your own
How to Build Your Own Solar Panels
Building your own solar panels can be an exciting and rewarding project, especially if you're interested in renewable energy and sustainability. By creating your own solar panels, you can save money on electricity bills and reduce your carbon footprint. Here’s a step-by-step guide on how to build your own solar panels.
1. Understanding the Basics
Before diving into the project, it's essential to understand how solar panels work. Solar panels convert sunlight into electricity using photovoltaic cells. These cells generate direct current (DC) electricity when sunlight strikes them, which can then be converted into alternating current (AC) for household use.
2. Gather Your Materials
To build your solar panels, you will need specific materials
- Photovoltaic (PV) cells These are the essential components of the panel. - Plywood or a similar material This will serve as the backing for your panel. - Plexiglass or glass To cover and protect the PV cells. - Soldering iron and solder For connecting the cells. - Diodes To prevent reverse current flow. - Wiring To connect the panel to your electrical system. - Tools Such as a saw, drill, and screwdriver.
3. Design Your Panel
Decide on the size and layout of your solar panel. A typical solar panel consists of a series of PV cells arranged in rows. A common configuration is a 3x4 arrangement, which provides about 12 volts of output. Sketch a layout that includes space for wiring and soldering connections.
4. Assemble the PV Cells
solar panels how to build your own

Start soldering the PV cells together in your desired configuration. Connect the positive terminal of one cell to the negative terminal of the next. Continue this process until all cells are connected. Make sure to handle the cells gently, as they can break easily.
5. Secure the Cells
Once the cells are soldered together, place them on the plywood backing. Use silicone adhesive to secure them in place. This will prevent movement and protect them from the elements.
6. Cover with Glass
After the cells are secured, place the plexiglass or glass on top. Seal the edges with silicone to prevent moisture from entering. This step is crucial for protecting your solar panel from weather damage.
7. Connect the Wiring
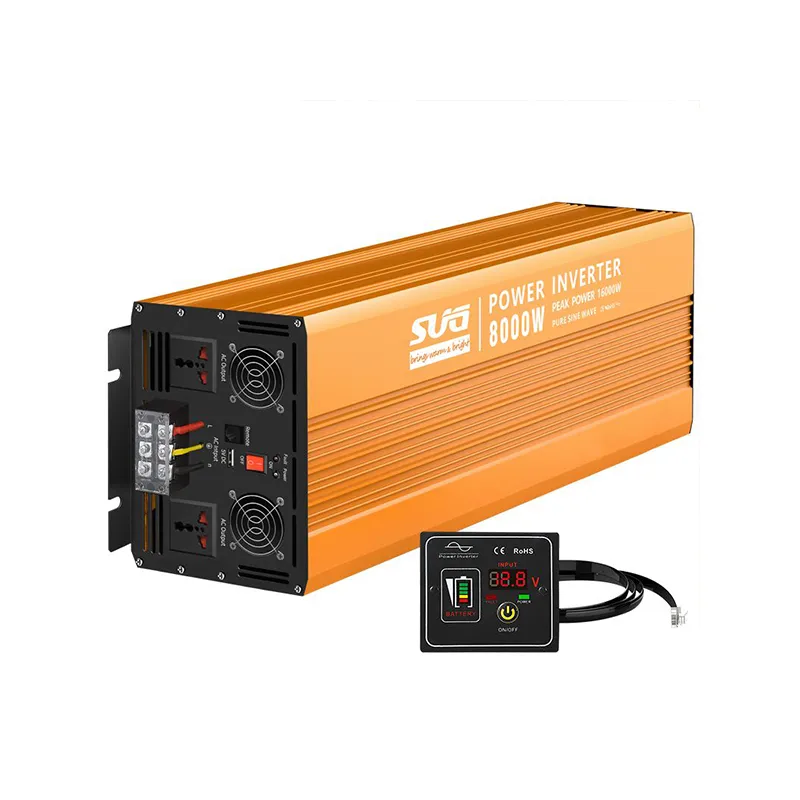
Now, attach diodes and wiring to the panel. Connect the output wires from the solar panel to an inverter if you want to convert the DC output to AC for household use.
8. Testing and Installation
Finally, test your panel to ensure it generates electricity. Once confirmed, you can install the panel in a location that receives ample sunlight.
Building your own solar panels takes time and effort, but the benefits of renewable energy are well worth it. Not only will you save money, but you'll also contribute to a healthier planet. Happy building!
-
Unlocking Energy Freedom with the Off Grid Solar InverterNewsJun.06,2025
-
Unlock More Solar Power with a High-Efficiency Bifacial Solar PanelNewsJun.06,2025
-
Power Your Future with High-Efficiency Monocrystalline Solar PanelsNewsJun.06,2025
-
Next-Gen Solar Power Starts with Micro Solar InvertersNewsJun.06,2025
-
Harnessing Peak Efficiency with the On Grid Solar InverterNewsJun.06,2025
-
Discover Unmatched Efficiency with the Latest String Solar InverterNewsJun.06,2025
