Installing Solar Panels on Shed Roof - A Step-by-Step Guide
Installing Solar Panels on Shed Roof A Practical Guide
As more homeowners seek sustainable energy solutions, solar panels have become an increasingly popular option for harnessing renewable energy from the sun. One unique opportunity for installation is on a shed roof. Sheds are often overlooked as potential sites for solar energy generation, but they can be ideal due to their roof space and distance from the main house. Here’s a practical guide to installing solar panels on your shed roof.
Benefits of Solar Panels on Shed Roofs
There are several advantages to installing solar panels on your shed roof. First and foremost, it maximizes available roof space that might otherwise go unused. By placing solar panels on a shed, homeowners can generate electricity without taking up valuable real estate on their homes.
Additionally, sheds are typically located in areas that may receive ample sunlight throughout the day, free from obstructions like trees or buildings. This unencumbered exposure can enhance the efficiency of solar panels, leading to optimal energy production. Furthermore, any energy generated can be used to power tools, lights, and other equipment in and around the shed, making it a productive investment.
Preparing for Installation
Before you start, it’s essential to assess your shed's roof. First, check the roof condition; it should be structurally sound and ideally facing south for optimal sun exposure. Next, measure the available space to determine how many panels you can install.
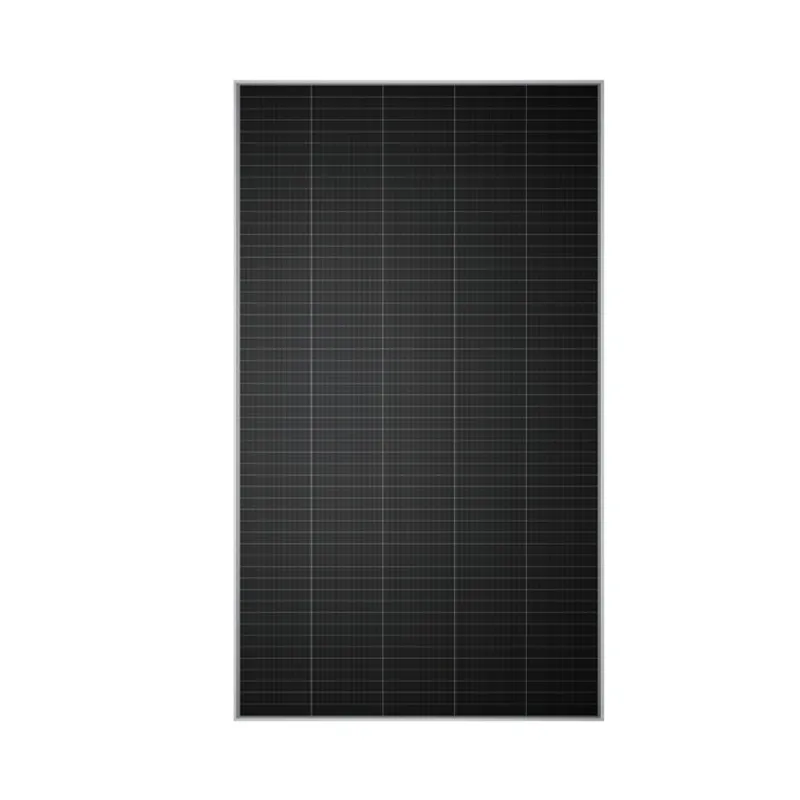
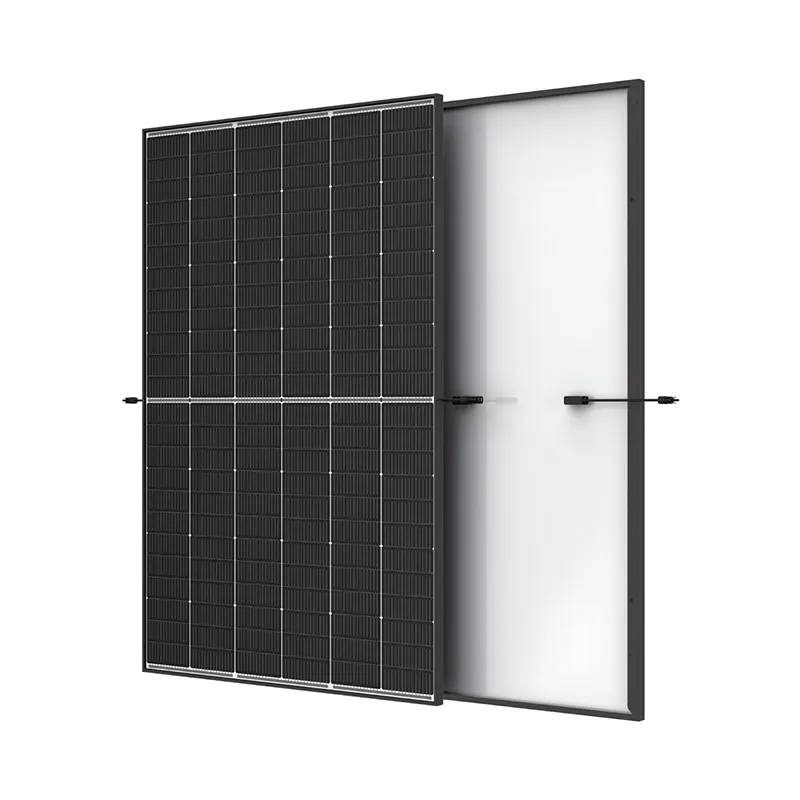
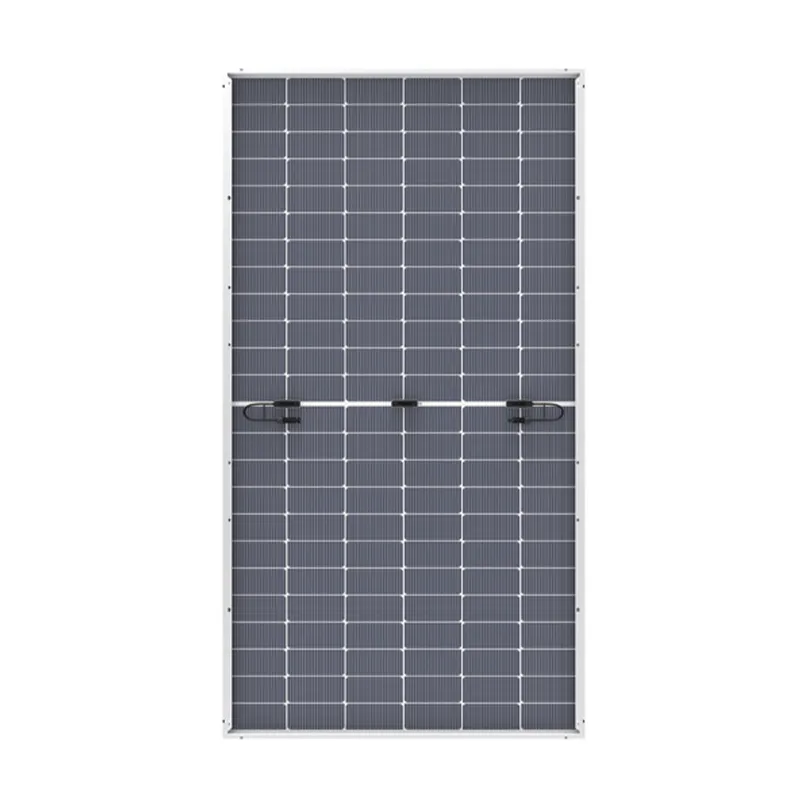
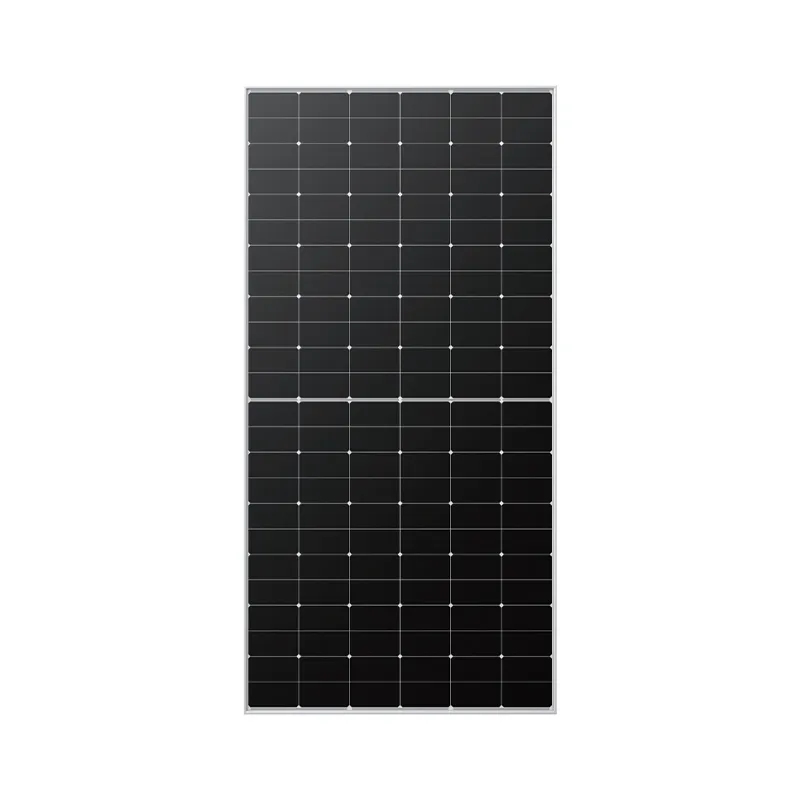
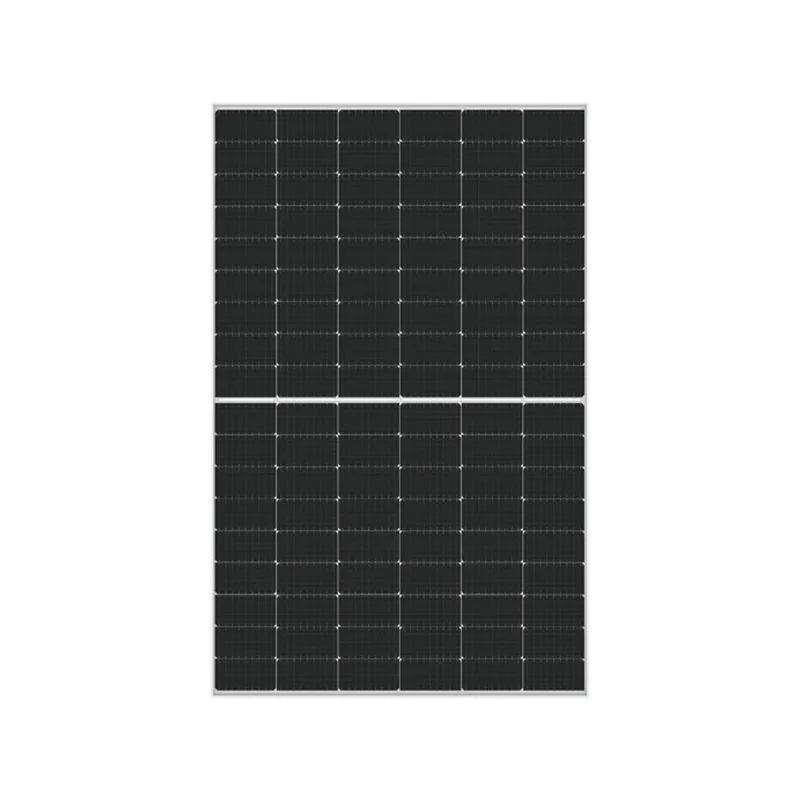
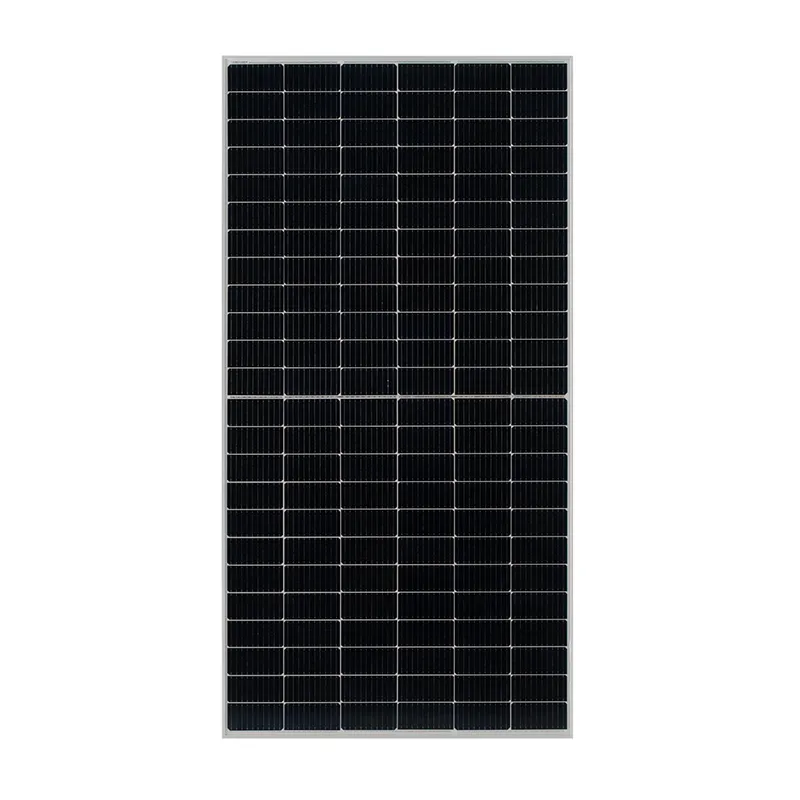
Consider the type of solar panels that suit your needs. There are various options available, including monocrystalline, polycrystalline, and thin-film solar panels, each with its efficiency rates and costs. Understanding your energy needs will help you decide which type is best for you.
Installation Steps
installing solar panels on shed roof
1. Gather Tools and Materials Before beginning, gather all necessary tools, including a ladder, drills, wrenches, and mounting brackets, as well as the solar panels themselves. A deep-cycle battery system may also be necessary to store excess energy.
2. Mounting the Panels Begin by installing the mounting brackets onto the roof. These brackets will secure the solar panels in place. Position them according to the manufacturer’s instructions, ensuring they are fixed onto the roof structure and not just the roofing material.
3. Panel Installation Secure the solar panels to the mounting brackets, connecting them according to the wiring guidelines provided by the manufacturer. Ensure that the panels are facing the optimal direction for sunlight exposure.
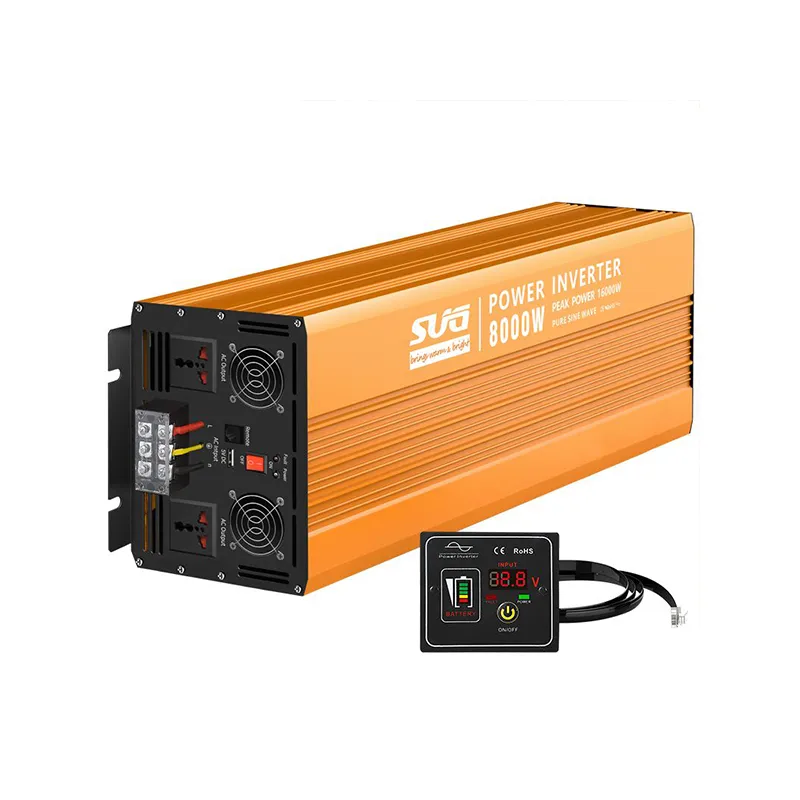
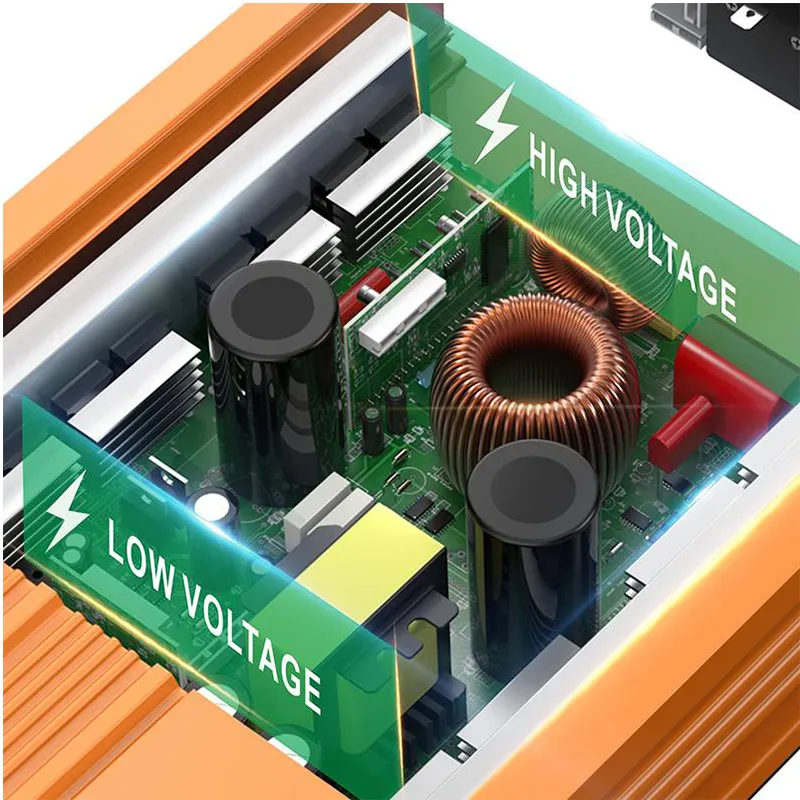
4. Electrical Connections This step may require the expertise of a licensed electrician. Connect the solar panels to an inverter that converts the direct current (DC) produced by the panels into alternating current (AC) for use in your shed and home.
5. Testing Once everything is connected, conduct a test to ensure the system is functioning properly. Check your inverter settings and monitor energy production to verify that your installation is performing as expected.
Maintenance and Monitoring
After installation, regular maintenance is vital. Periodically check for debris or dirt on the panels, as this can reduce their efficiency. Additionally, it’s a good practice to monitor the energy output to ensure the panels are working optimally.
Conclusion
Installing solar panels on a shed roof can offer a practical and eco-friendly way to harness solar energy. With careful planning and consideration, this project can enhance your energy independence and provide significant long-term savings. Whether you're looking to power garden tools or simply reduce your carbon footprint, solar panels can be an excellent investment for your shed.
-
Unlocking Energy Freedom with the Off Grid Solar InverterNewsJun.06,2025
-
Unlock More Solar Power with a High-Efficiency Bifacial Solar PanelNewsJun.06,2025
-
Power Your Future with High-Efficiency Monocrystalline Solar PanelsNewsJun.06,2025
-
Next-Gen Solar Power Starts with Micro Solar InvertersNewsJun.06,2025
-
Harnessing Peak Efficiency with the On Grid Solar InverterNewsJun.06,2025
-
Discover Unmatched Efficiency with the Latest String Solar InverterNewsJun.06,2025
